Did your couch cover tear right when guests were on the way, or after one more playful pounce from the dog? You are not alone. For busy families and pet owners, a small rip can turn into a big eyesore fast, and it can put your sofa at risk for stains, snags, and more damage.
The good news is you can fix torn couch cover problems in about 15 minutes, without needles, thread, or stress. In this guide, you will learn a no sew couch cover repair that helps repair fabric tear without sewing, while keeping the look clean and sofa safe. It is a quick, gentle solution that also helps protect sofa from pets and kids.
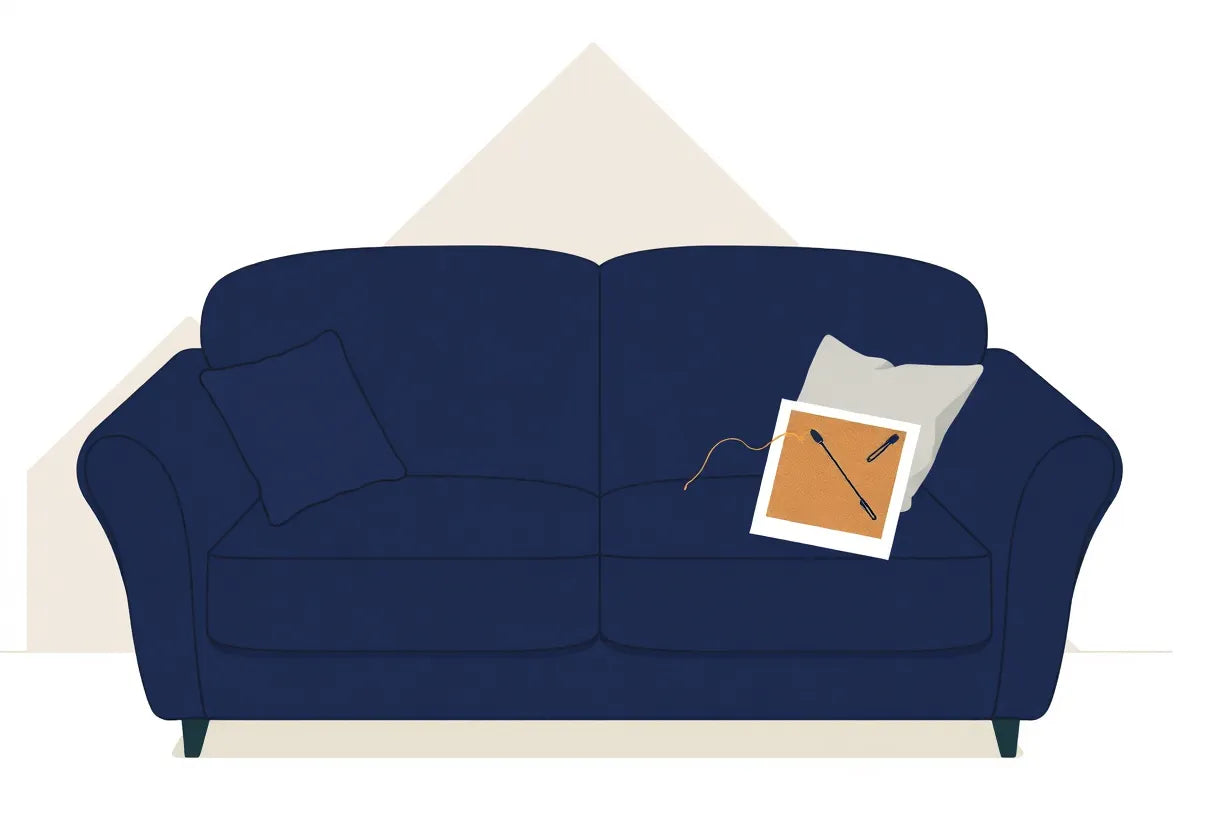
First, let’s look at what you will need and how to prep the area for a strong hold.
Before You Start: Check the Tear Type (So You Don’t Make It Worse)
Before you jump into a quick fix torn couch cover solution, take two minutes to diagnose what you are dealing with. This is the difference between a no sew couch cover repair that holds for weeks (even in a busy home) and a patch that peels up the first time someone flops down for movie night.
Use this quick checklist to choose the right approach and keep the tear from spreading.
1) Identify the tear type (the fix changes slightly)
A. Seam split (stitching gave way, fabric looks intact)
- What it looks like: the fabric edges are clean and even, and you can often see the original stitch holes.
- Common cause: repeated tension in high-use spots like the seat front edge or cushion corners.
- Why it matters: seams usually need the edges realigned and supported so the split does not re-open.
B. Straight tear (clean rip through the fabric)
- What it looks like: a line rip across the fabric, sometimes from catching on a belt buckle, toy edge, or sharp zipper.
- Common cause: snag plus tension, especially on the seat front where people slide in and out.
- Why it matters: clean tears can bond nicely with repair tape, but only if the edges meet cleanly.
C. Frayed hole or puncture (fibers are fuzzy, opening widens easily)
- What it looks like: loose threads, fuzzy edges, or a small puncture that is turning into a hole.
- Common cause: cat claws, puppy nails, or repeated abrasion on armrests and cushion corners.
- Why it matters: fraying needs stabilization (usually with an inner patch) before you tape, otherwise the adhesive grabs loose fibers and the damage keeps growing.
Practical example: cat claw punctures often start as tiny pinholes that fray fast, while seam splits usually happen where the cover gets pulled tight again and again, like the armrest edge.
2) Check fabric stretch so your repair can move with the cover
This step helps you repair fabric tear without sewing in a way that still feels comfortable and looks smooth.
- Stretchy covers (spandex blends, “2-way stretch” slipcovers): choose a repair method that can flex. A rigid patch can pucker when someone sits down, which puts stress right back on the tear.
- Woven, non-stretch covers (cotton, linen blends, heavier weaves): a firmer patch and strong tape support usually works well, because the fabric does not need to stretch and bounce back.
Quick at-home test: gently stretch the fabric 1 to 2 inches near the tear (not directly on it). If it easily stretches and snaps back, treat it like a stretch cover and avoid overly stiff reinforcement.
3) Look for the “stress point” that caused the rip (then reduce tension)
Most tears happen where the cover is under constant pull. Common high-stress zones include:
- Armrest edges (pets launching off, kids leaning, lots of hands)
- Seat front edge (sliding in and out)
- Cushion corners (tugging when refitting or when the cover shifts)
Before you repair, do one tension-reducing step:
- If the cover is removable, take it off and work on a flat surface.
- If you cannot remove it, shift the cover so the torn area is relaxed, not stretched tight.
If your tear is on an armrest hot spot, consider adding a targeted protective layer after the repair so it does not happen again: armrest and cushion covers.
4) Do the gentle tug test (to see if the tear is actively spreading)
Place two fingers on either side of the tear and apply a very light outward tug.
- If the opening widens immediately, you will want reinforcement (like an inner patch) as part of your no sew couch cover repair.
- If it stays stable, a simpler tape-based fix may be enough.
This small test helps you choose the right level of support so your repair actually protects sofa from pets and kids instead of failing during the next roughhousing moment.
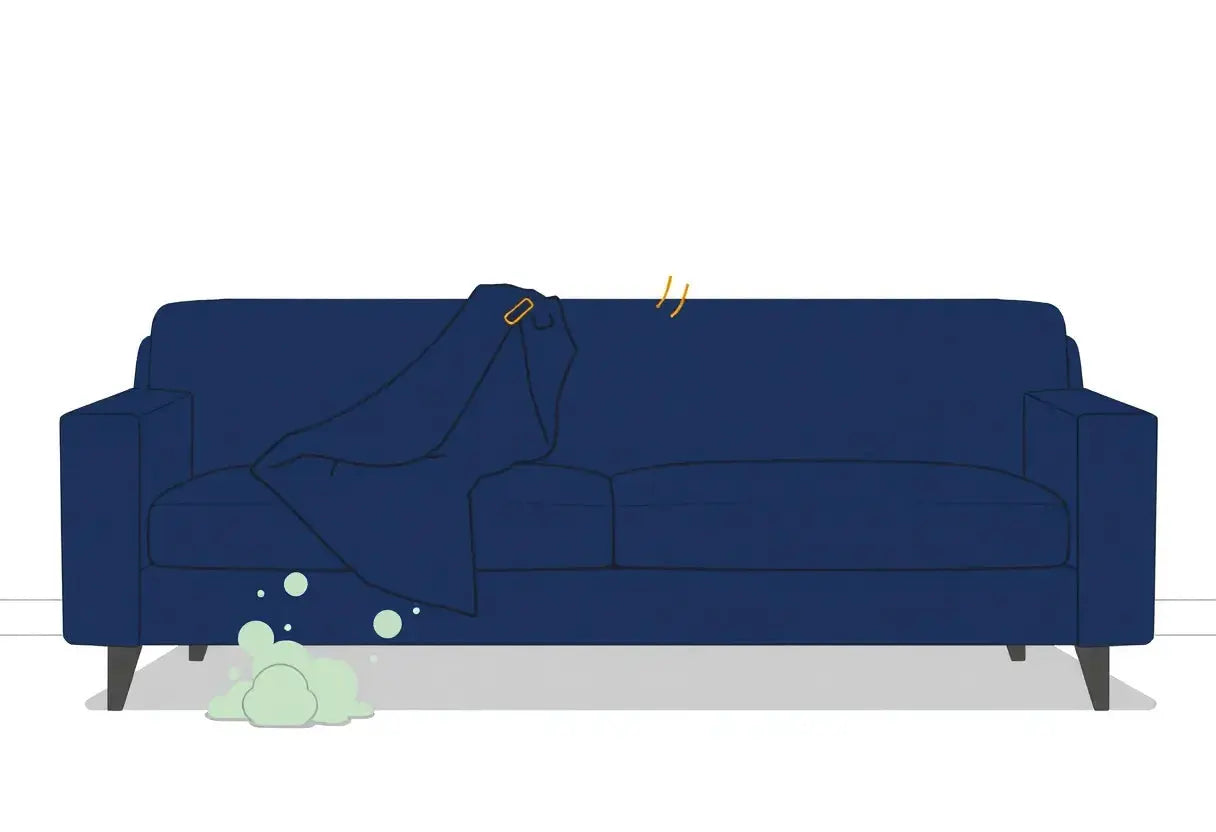
5) Clean and dry the area first (adhesive does not stick to real life mess)
Adhesives are picky. They fail on:
- lint and dust
- skin oils and lotion
- pet hair
- leftover fabric softener residue
Do this quick prep:
- Lint roll the area (inside and outside of the cover if possible).
- Wipe lightly with a barely damp cloth if needed, then let it fully dry.
- If the fabric is washable and you have time, a quick wash and full dry is even better, but not required for an emergency fix.
Once you know your tear type, fabric stretch, and stress point, you are ready for the actual 15-minute method. Next, we will walk through the step-by-step fix with the simplest supplies and the cleanest finish.

The 15-Minute No-Sew Fix (Step-by-Step)
You already did the smart part by identifying the tear and cleaning the area in the previous section. Now it is time to fix torn couch cover damage quickly, neatly, and in a way that stands up to real life.
Below are two simple methods for a no sew couch cover repair, depending on whether you are dealing with a clean straight tear or a frayed hole.
What you need (a simple no-stress kit)
Gather these basics before you start so you are not scrambling mid-repair:
- Iron-on hem tape or fabric repair tape (choose one)
- A small patch of thin fabric (cotton works well; aim for lightweight and flexible)
- Scissors
- Lint roller (or strong tape wrapped around your hand)
- Pressing cloth (a thin towel, pillowcase, or cotton scrap)
- Optional but helpful: a ruler or measuring tape to cut a tidy patch
Notes on tape choices (common household options):
- Fabric repair tape: typically a pressure-sensitive adhesive you press firmly to bond.
- Iron-on hem tape: heat-activated adhesive that bonds when pressed with an iron.
Always follow the tape brand’s heat and cure instructions. This is the best way to avoid residue, shine, or a stiff-looking spot, especially on smooth or darker fabrics.
Method A: Fast fix for a straight tear (best for clean rips)
This is the quickest way to repair fabric tear without sewing when the edges still meet neatly.
-
Turn the cover inside out (if possible).
Working from the inside keeps the repair discreet and helps the outside look smooth. -
Align the tear edges like a zipper.
Match the pattern or weave as closely as you can. A careful alignment is what makes the finished fix look “invisible enough” in a family room. -
Cut a strip of repair tape slightly longer than the tear.
Give yourself about 1 inch extra on each end so stress does not pop the tape loose later. -
Apply the tape on the inside, centered over the tear.
Press it down lightly first so you can adjust, then press firmly once you are happy with the placement. -
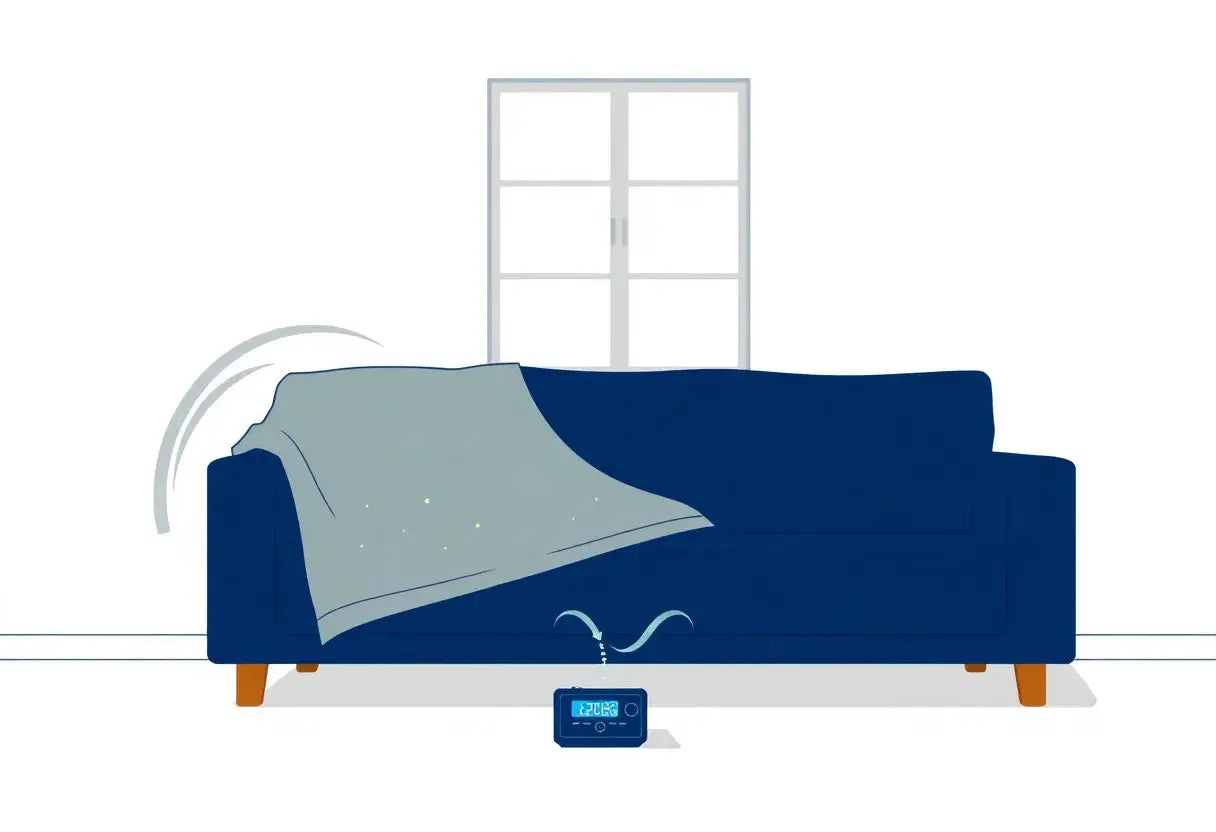
Set the bond (press or heat-set).
- If using fabric repair tape: press firmly with your fingertips, then rub with the back of a spoon to increase pressure and contact.
- If using iron-on hem tape: place the pressing cloth over the area and press with the iron for the exact time recommended by the tape brand. Keep the iron still rather than sliding to prevent shifting.
-
Let it cool or cure before using the couch.
Most tapes bond better after cooling, and some adhesives need a short cure time before they reach full strength. This is a small pause that can make a big difference in durability.
Method B: Stronger fix for frayed holes (best for worn spots and pet snags)
If the tear looks fuzzy, stretched, or has a small hole, this approach spreads stress across a patch so the damaged area is not taking all the pulling.
-
Trim loose fibers carefully.
Snip frays that stick out, but do not enlarge the hole. The goal is a clean edge that can sit flat. -
Cut a thin inner patch bigger than the damaged area.
Aim for at least 1 inch of extra fabric beyond the tear or hole on all sides. This “buffer zone” helps prevent the damage from growing. -
Position the patch on the inside of the cover.
Center it under the hole so it supports the weakened fabric evenly. -
Tape around the edges of the patch to anchor it and spread stress.
Apply tape along the perimeter first, working in short sections and smoothing as you go. For extra hold on high-tension areas, you can add one strip across the center as well. -
Press or heat-set, then let it rest.
Use a pressing cloth if heat-setting. Then allow the area to cool or cure fully before putting the cover back under daily use.
This patch method is especially helpful if you are trying to protect sofa from pets and kids, because it reinforces the area instead of just “closing” it.
How to keep the repair smooth (and not lumpy)
A quick fix can still look polished if you slow down for these small details:
- Work from the center outward to push out air pockets and prevent ripples.
- Press for the full recommended time (more is not always better, but too little is a common reason repairs lift).
- Use a pressing cloth when ironing to reduce the risk of shine or heat marks.
- Avoid stretching the fabric while you bond it. If the cover is under tension during the repair, it may pucker later when relaxed.
If the tear is on a high-wear seat area
Seat fronts and favorite “spot” cushions take the most daily stress, so even a great tape repair can be challenged there. After you finish the fix, consider adding a removable reinforcement layer like sofa seat covers to keep the repaired area from being rubbed and tugged all day.
Next, we will make sure your repair lasts by reinforcing high-wear zones and setting up a simple routine that helps prevent the rip from coming back.
Make the Repair Last: Reinforce High-Wear Zones (Pets, Kids, Daily Use)
You have already done the quick fix. Now the goal is to keep that fresh no sew couch cover repair from reopening the next time someone flops down for movie night or your cat uses the armrest as a launchpad. Most tears come back for one simple reason: the same stress that caused the rip is still happening in the same spot.
Below are practical, family friendly habits and small upgrades that help you fix torn couch cover damage once, then actually enjoy your sofa again.
1) Reduce friction first (because friction is a quiet tear starter)
Even a strong tape or patch can fail if the fabric is constantly being abraded.
Common everyday triggers to watch for:
- Repeated sitting on the same seat edge (especially the front edge where you slide in and out)
- Pets pushing off from the armrest or scratching to get traction before jumping
- Grit and crumbs trapped in the weave (they act like sandpaper when you shift around)
- Kids tugging a loose cover like it is a blanket
Do this weekly to slow new snags:
- Rotate cushions: swap left to right (and flip if your cushions allow). This spreads wear so one edge does not take all the stress.
- Vacuum grit and hair: a quick pass along seams, seat fronts, and arms helps a lot. Focus on the repaired zone since grit there shortens the life of your patch.
- Trim pet nails: short, smooth nails reduce “catch points” that can pull threads and reopen a repair.
Mini weekly maintenance checklist (2 to 5 minutes):
- Vacuum seat front edge and armrests
- Check the repaired area for lifting corners or new fraying
- Rotate cushions
- Quick nail check for pets (trim or file if snaggy)
These habits are especially helpful if you are trying to repair fabric tear without sewing on a textured weave, where friction can keep grabbing loose fibers.
2) Add grip so the cover stops sliding and pulling
A surprising amount of tearing happens because the cover is always shifting. Every time the cover slides, it tugs at seams and stress points, turning a small repaired tear into a repeat problem.
Quick ways to reduce pulling:
- Refit the cover tightly after the repair: smooth from the center outward, then tuck excess fabric neatly. The less movement, the less stress on the repair.
- Anchor the corners: use the foam inserts or tucking tools that came with your cover, or add non-slip grippers if you have them.
- Avoid “constant readjusting” habits: if someone in the family is always yanking the cover back into place, that is a sign it needs better grip, not more tugging.
This step is key when you fix torn couch cover areas on armrests and seat fronts, since those are the zones that get pulled and rubbed the most.
3) Protect the exact damage zone for the next 7 days (targeted, not bulky)
Right after a no sew couch cover repair, the adhesive or bond is still in its most vulnerable phase during real life use. Give it a short “recovery week” with a simple extra layer.
Try one of these:
- Armrest guards if the tear is where pets launch or kids lean with snacks
- A seat cover if the tear is on the front edge where people slide in and out
- A throw blanket for a week (especially during high traffic evenings)
Think of this as a buffer: it reduces friction, hides the repair while you test durability, and helps you protect sofa from pets and kids without making the room feel like a construction zone.
If claws are a regular issue in your home, it may be worth upgrading from temporary layers to tougher everyday protection. For claw-prone homes, consider anti-scratch couch covers: https://frenchcovers.com/collections/anti-scratch-couch-covers
4) Set a simple care routine so the fabric stays strong (and stretchy covers stay stretchy)
Washing and drying habits can quietly shorten the life of a repair, especially on stretch blends.
Best practice care tips:
- Wash on gentle (and skip heavy cycles that twist and stress fibers)
- Air dry when possible to help prevent shrinkage and preserve stretch
- Avoid high heat if your cover has stretch fibers (like spandex blends). Heat can weaken elasticity, which increases pulling and makes tears more likely to return.
If you are relying on tape or an inner patch to repair fabric tear without sewing, gentle care matters even more because extreme heat and aggressive agitation can loosen adhesives over time.
These reinforcement steps keep your repair looking neat and help prevent the tear from spreading. Next, we will cover the situations where a quick fix is not the best option, and what to do instead if the fabric is thinning, tearing in multiple spots, or the sofa itself is getting damaged.

When a Quick Fix Isn’t Enough (And What to Do Instead)
A 15-minute patch can be a lifesaver when you need to fix torn couch cover issues fast. But sometimes the kindest thing you can do for your sofa (and your sanity) is to pause and decide whether a no sew couch cover repair is truly the right next step.
Use this quick decision guide to avoid wasting time on a repair that will pop open again after one movie night, one toddler tumble, or one enthusiastic dog leap.
1) Repair vs. Replace: How to spot an end-of-life cover
If your cover is showing general wear, not just one unlucky rip, repairs often turn into a game of whack-a-mole. Consider replacing the cover if you notice signs of fabric fatigue like:
- Thinning or “shine” in seat and arm areas: Fabric that looks glossy or flattened can mean fibers are wearing down from friction (common on the front seat edge and armrests).
- Shedding, fuzzing, or pilling that will not stop: When fibers break down, tape and patches have less to grip, so even if you repair fabric tear without sewing, it may not hold for long.
- Multiple tears or repeated seam failures: If you have repaired the same zone more than once, the surrounding fabric is likely weakened, not just the original tear.
Practical rule: If gentle tugging around the tear makes the weave separate or “run,” the material is too fragile for another adhesive-based fix. At that point, a fresh cover is usually the cleaner and more budget-friendly choice than repeated patching.
2) If the sofa itself is ripping (not just the cover), stop using adhesives
This is a big one. If the tear is in the sofa upholstery underneath (or you can see damaged foam, batting, or inner fabric), skip tape and glue.
Why: Adhesives can seep into upholstery fibers, stiffen the area, and make professional repair harder later. Instead:
- Remove the cover and stop using the seat temporarily if possible
- Take a few photos of the damage (close-up and wider view)
- Consult a professional upholsterer for advice, especially if the sofa is premium, sentimental, or still structurally strong
This “safe-first” step protects your investment and prevents a small rip from becoming a larger, costlier problem.
3) If you want a clean look fast, a well-fitted slipcover is the elegant shortcut
Sometimes the goal is not just to repair, but to make the whole room feel pulled together again, especially before guests arrive. If your cover has visible wear beyond the torn spot, a fitted slipcover can:
- Hide older fading, thinning, and patch marks instantly
- Create a smooth, styled look that feels intentional (not “we had an emergency repair”)
- Add a protective layer that helps protect sofa from pets and kids daily
This option is especially helpful if your original cover fabric is delicate or if the tear sits in a high-stress zone that keeps getting bumped, climbed on, or scratched.
For everyday, full-coverage protection (and a quick style refresh), explore sofa and couch covers: https://frenchcovers.com/collections/sofa-couch-covers
4) Premium or vintage furniture: choose removable protection that will not damage finishes
If you are working with premium, vintage, or sentimental pieces, prioritize non-damaging, removable solutions.
Before using any tape or adhesive method:
- Test on an unseen area (inside hem or underside of the cover) to check for residue, discoloration, or texture change
- Be extra cautious with delicate materials like linen blends, loosely woven fabrics, or textured weaves that can snag easily
If you want protection without risk, a removable cover that fits well is often safer than repeated adhesive patches.
If you are leaning toward “repair is worth it,” the next section will help you make that fix last longer by reinforcing the zones that take the most abuse from real life, like pets launching off the armrest and kids tugging at loose fabric.
So, there you have it—a quick, no-sew way to fix a torn couch cover and protect your sofa from pets and kids. By diagnosing the tear, prepping the area, and using a simple inner patch, you can restore your sofa’s look in just 15 minutes. This repair fabric tear without sewing method is perfect for busy homes needing an immediate, gentle solution.
While a tape fix is a fantastic temporary rescue, it’s often just that—temporary. For a truly durable defense against daily wear, consider a more permanent layer of protection. Want a longer-lasting fix than tape alone? Add a protective layer today—choose a fitted cover made for busy homes so the next snag doesn’t turn into a tear.
Because a beautiful, lived-in home shouldn’t mean constantly repairing the things you love.
Quick FAQ: No Sew Couch Cover Repair for Busy Homes
If your sofa cover has a rip, you do not need a sewing kit to get it looking tidy again. Below are the most common questions we hear from families, pet parents, and style lovers, based on our “15 minute” method to fix torn couch cover damage fast, neatly, and with minimal fuss.
Q: What’s the best no-sew way to fix a torn couch cover? A: The easiest fix torn couch cover method from the article is a no sew couch cover repair using fabric repair tape or fusible tape, then pressing the edges flat for a clean finish. Prep the area first (clean, dry, align the tear) so the bond stays smooth. See the steps in 15 Minute No Sew Method and Supplies Checklist.
Q: Will fabric repair tape hold up to pets and kids? A: Yes, when applied the way the article recommends: clean the fabric, press firmly, and give it time to set before cuddles and play. For homes that need to protect sofa from pets and kids, reinforce stress points and keep nails trimmed to reduce re-tears. See Pet and Kid Proof Tips and How to Reinforce High Wear Spots.
Q: Can I use iron-on hem tape on stretchy couch covers? A: You can, but the article notes stretch fabrics move, so test first on a hidden area and use gentle heat to avoid stiff, puckered spots. If you want to repair fabric tear without sewing on spandex or knit blends, flexible fabric repair tape is often the safer no sew couch cover repair choice. See Stretch Fabric Notes and Heat Settings and Testing.
Q: How do I stop a small rip from spreading on a sofa cover? A: The article’s quick trick is to secure the edges immediately with a small patch of tape on the inside, then smooth the outside so the tear stays closed. This helps fix torn couch cover damage before it becomes a bigger, harder repair, especially if you are trying to protect sofa from pets and kids. See Stop a Rip from Spreading and Inside Patch Method.
Q: When should I replace my couch cover instead of repairing it? A: If the fabric is thinning, seams are failing in multiple places, or the tear sits on a high stretch, high friction area that keeps reopening, replacement can look better and last longer than repeated repair fabric tear without sewing attempts. The article suggests repairing first for small, clean tears, but upgrading when damage is widespread. See Repair vs Replace Guide and Choosing a Durable Cover.