One minute your couch looks picture ready. The next, there is a scratch, snag, or mystery stain from a paw or a juice cup. If you have kids or pets, you know how fast a sofa cover can go from fresh to frayed, and how hard it is to find time for a real fix.
That is why a simple couch cover repair matters. In this post, you will learn how a sofa cover patch kit can help you patch up damage in about five minutes, without sewing and without stress. We will also cover pet scratch repair for couch fabric and how to fix a torn sofa cover so your space still feels pulled together.
First, let’s look at the most common types of cover damage and what causes them.
5-Minute Couch Cover Repair: What You Can Fix (and What You Shouldn’t)
After that first “oh no” moment from a claw snag or a juice drip, the fastest way to get your living room feeling calm again is to decide one thing: is this a quick couch cover repair, or is it a bigger fix that needs a different plan?
Good news: a quality sofa cover patch kit can handle a lot of everyday chaos from kids and pets, especially when the fabric can lie smooth and stay relaxed. Use this quick-start guide to triage the damage in under a minute, then you will be ready for the step-by-step patching method in the next section.
What you can usually fix in about 5 minutes
These are the “yes, patch it” problems that typically respond well to an adhesive patch and light cleanup:
- Small tears and tiny holes (including pet claws): Think pinhole to small slit size, where the edges can meet back together. This is the sweet spot for pet scratch repair for couch covers.
- Snagged fabric and pulled threads: When a cat claw catches a knit or weave, it often leaves a raised loop. If you can smooth it down and the area lays flat, a patch can stabilize it.
- Fraying seams (early stage): If the seam is just starting to fuzz or open slightly, reinforcing the area can stop the fray from traveling.
- Worn armrest spots: Armrests are a high-touch zone, so covers thin there first. A well-placed patch can look intentional, like a subtle reinforcement panel.
- Light stains and smudges: Quick spot treatment (blot and mild cleaner) often restores the look enough that you do not need a full wash cycle.
Before and after mini scenarios (real-life, not showroom life):
-
Armrest wear: Before: the armrest looks lighter and fuzzy where hands and paws land. After: a matching patch placed neatly along the outer edge makes it look like a design detail while protecting the thinning fabric.
Armrest hot spots? Start here: Armrest and Cushion Covers - Cat claw snag: Before: a small snagged loop with a tiny split beside it. After: trim loose fuzz carefully, smooth the fabric flat, then patch to lock it down so it does not keep catching.
- Juice spill: Before: a sticky ring that keeps attracting lint. After: quick blot and gentle spot clean so the cover looks fresh again, then patch only if the fabric surface got roughed up.
What you should not try to “5-minute patch”
Some problems are repairable, but not with a simple patch alone. If you see any of these, pause and switch strategies so you do not waste time (or end up with a patch that peels):
- Large rips under tension: If the cover is stretched tight over the cushion and the rip is being pulled open, a patch is likely to fail.
- Missing fabric (a true gap): If pieces are gone, the edges cannot meet cleanly.
- Torn elastic, broken zipper, or blown-out closures: These are fit and structure issues, not surface issues.
- Heavy shrinkage or distortion: If the cover no longer fits the sofa shape, patching will not fix the underlying stress.
- Damage beneath the cover (foam or cushion problems): If you feel lumps, sagging, or crumbling underneath, the “repair” needs to start under the fabric.
If you are dealing with any of the above, you are closer to “replace the cover piece” than “patch the spot.” (We will talk upgrade paths later in the post so you can keep the sofa, not buy a new one.)
The simple decision rule (quick and reliable)
When families ask how to fix a torn sofa cover without making it worse, this is the simplest rule that keeps you out of trouble:
- If the fabric lays flat and the edges meet: a patch is often enough.
- If the fabric is stretched tight, actively pulling apart, or missing: consider replacing that cover section or upgrading the cover.
This one check alone prevents most failed patch jobs, especially on stretchy slipcovers.
Checklist box: Patch, clean, or pause?
Use this as a fast decision checklist before you grab your sofa cover patch kit.
Patch it now if:
- The tear is small and edges touch when you pinch them together
- The area can be smoothed flat with your hand
- The damage is on a low-to-medium tension area (side panel, back corner, outer arm)
- You want a fast, no-sew fix for pet claws or snagging
Clean it first if:
- The issue is mainly a light stain or sticky spot
- There is pet hair, crumbs, or lint that would block adhesion
- The fabric feels damp or oily in that area
Pause and change plans if:
- The rip is large and keeps opening when the cushion is in use
- Elastic or zippers are broken
- The cover has shrunk or the foam underneath is damaged
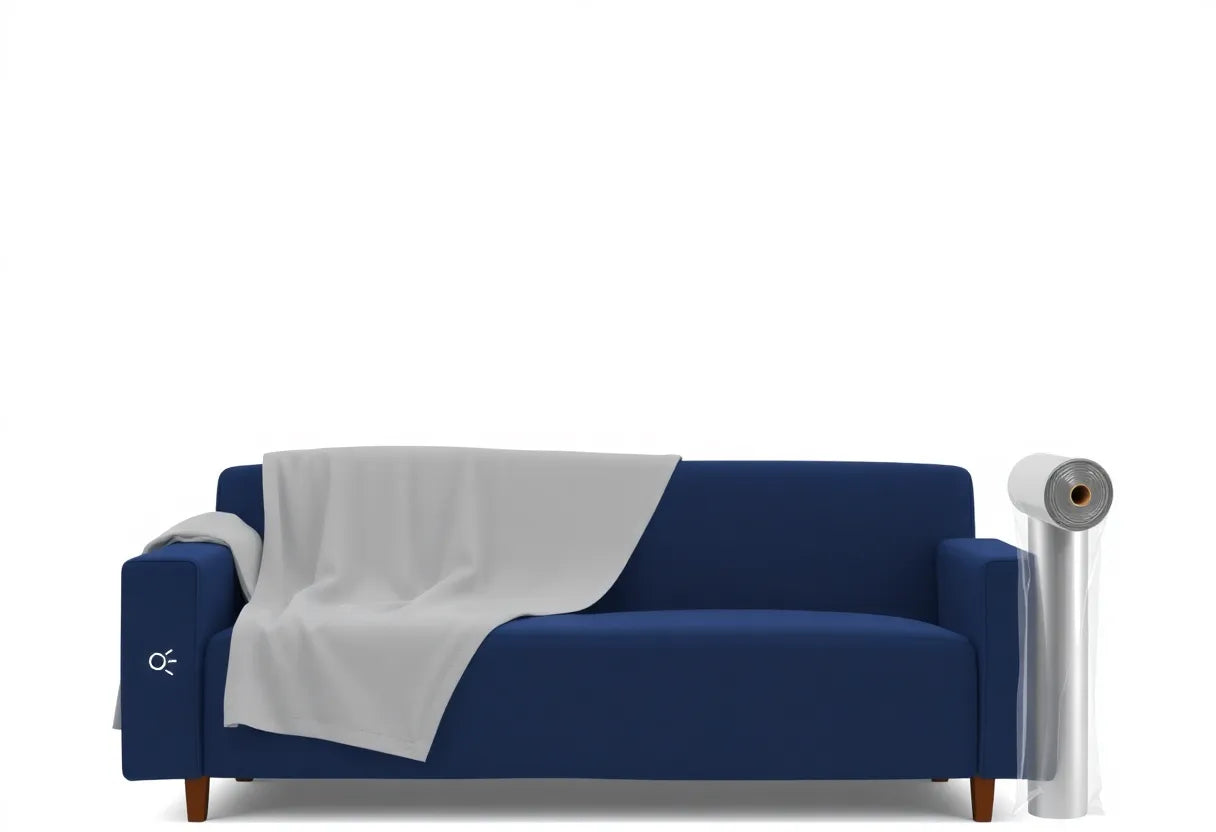
Time saver: build a mini “sofa first-aid kit”
When life is busy, the best couch cover repair is the one you can do right away, before the snag turns into a rip. Keep a small kit in a drawer near the living room:
- Lint roller (helps patches stick, and makes everything look cleaner fast)
- Mild stain spray or gentle soap solution
- Fabric-safe adhesive patches (your go-to for quick reinforcement)
- Small scissors (for trimming loose threads, not cutting into the weave)
With that ready, you are set up for a true five-minute fix instead of a “I will handle it this weekend” project.
Next up, we will walk through the exact no-sew method to patch a scratch or small tear step by step, including how to prep the fabric so the patch bonds cleanly and blends in.

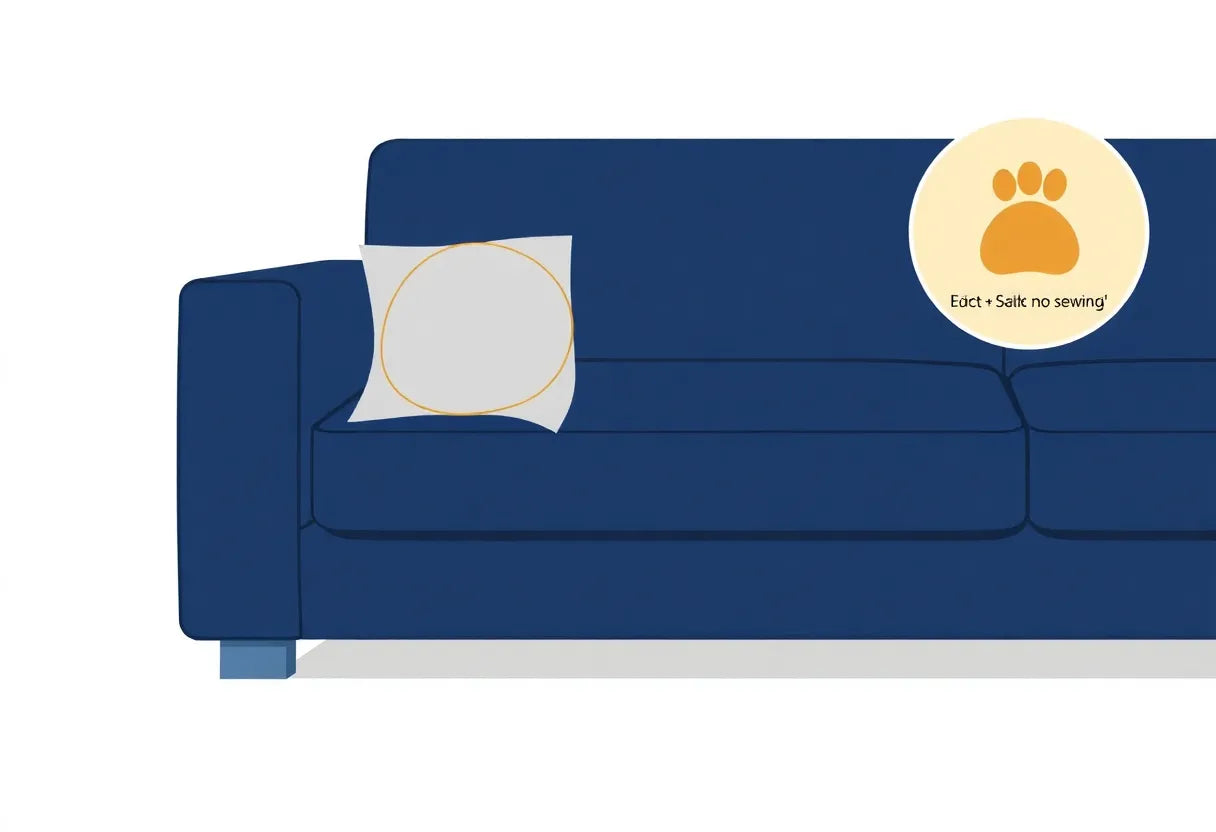
Step-by-Step: Patch a Scratch or Small Tear in Minutes (No Sewing)
If Section 1 helped you decide that the damage is patchable (the fabric lies flat and the edges can meet), this is the fast, no-drama method for couch cover repair. It works especially well for pet scratch repair for couch covers, small snags on armrests, and tiny tears from toys, zippers, or everyday tugging.
Think of a sofa cover patch kit as your living room’s little first-aid kit. You are not trying to make it museum perfect. You are trying to make it look tidy, feel smooth, and stop the tear from growing.
3-step micro-tutorial (about 5 minutes total)
Step 1: Clean and prep (about 1 minute)
Prep is what makes the patch stay put.
- Brush off pet hair and lint so nothing gets trapped under the adhesive. A lint roller works great.
- Wipe the area with mild soap and water (a drop of gentle dish soap in a small bowl is enough).
- Let it fully dry. Adhesive and damp fabric do not mix. If you are in a hurry, press a clean towel on it for 10 to 15 seconds, then let it air for a moment.
Why this matters: even a small amount of oil, fur, or moisture can cause edge lift later, especially on stretchy slipcovers.
Step 2: Trim and align the damage (about 2 minutes)
This step is key for how to fix a torn sofa cover without the repair looking bumpy.
- Clip loose threads, do not pull them. Pulling can turn a small snag into a run.
- Bring the edges together so they meet naturally. If the cover is on the couch, gently smooth the fabric so it lies flat without stretching.
- Flatten the area with your hand to remove wrinkles and make sure the tear is closed as neatly as possible.
Quick tip for claw marks: if it is more of a scratch than a full tear, align the disturbed fibers in the same direction before patching so the surface looks calmer.
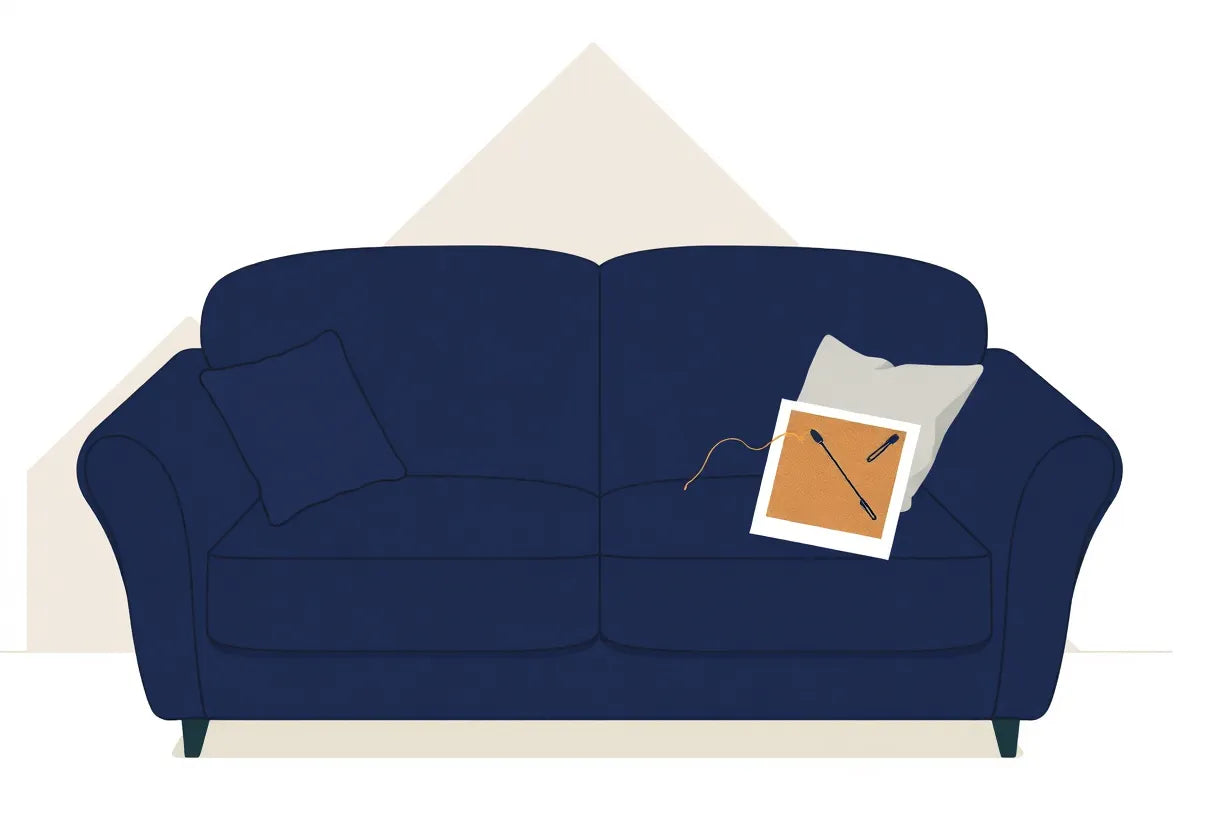
Step 3: Apply the patch and set it (about 2 minutes)
Now you are locking the repair in place.
- Cut rounded corners on the patch (even if your kit comes as rectangles). Rounded corners are less likely to peel.
- Place the patch over the tear with the fabric still aligned underneath.
- Press firmly from the center outward to push out air and ensure full contact.
- Add steady pressure for 30 to 60 seconds. Your palm works, or press with a clean book for a more even set.
Durability tip: avoid heavy use for the first hour if your patch uses adhesive. The bond strengthens as it sits. Then check the edges after the first day and press again if you notice any lifting.
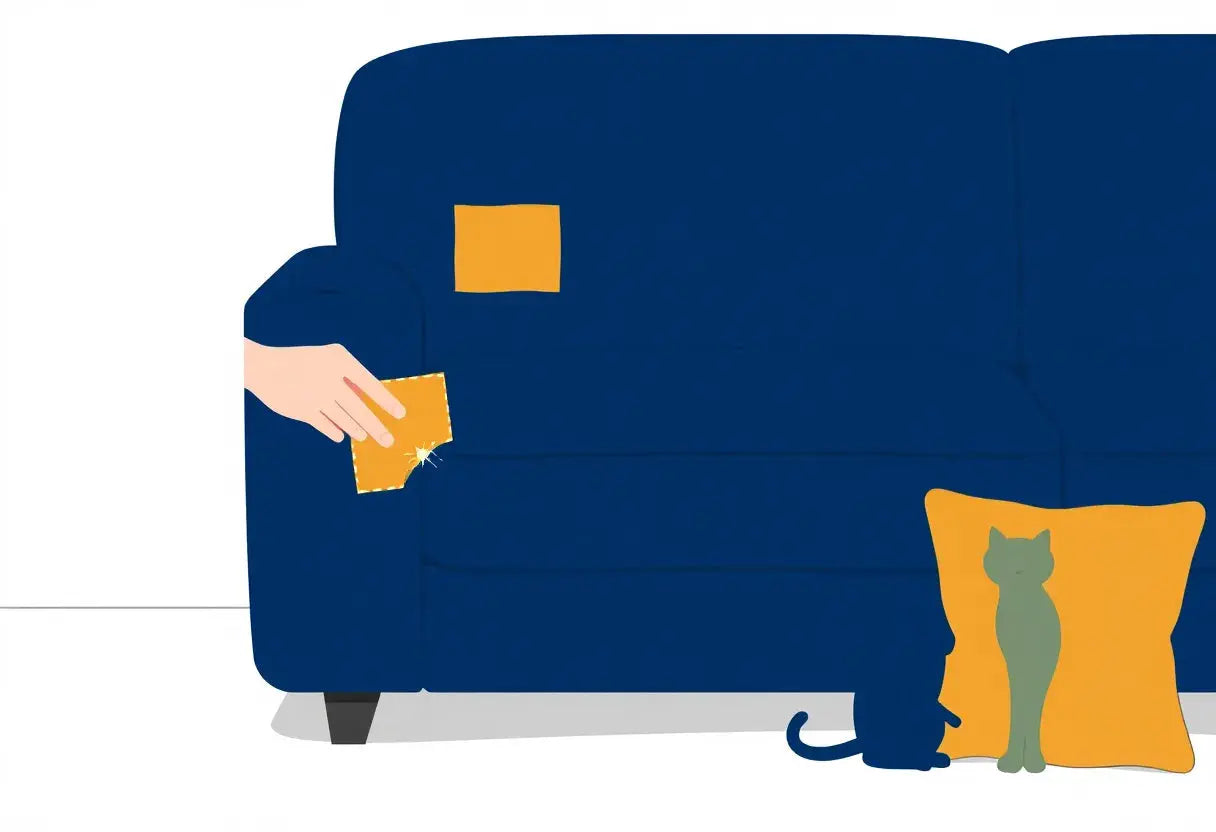
How to make it look intentional (not like a quick fix)
A patch can be nearly invisible, or it can be a smart “design save.” Either way, you get to choose.
- Color match when you can: pick the closest shade to your cover so it blends at a glance.
- Hide it in a natural design zone: side panels, back corners, or lower sections that are not the focal point.
- Style assist: if the patch is on a visible area (like the arm), place a throw nearby so the whole corner reads cozy and planned.
If you find yourself patching the same spot again and again (classic cat corner problem), that is your signal to add tougher protection in that zone. Take a look at these Anti-Scratch Couch Covers: https://frenchcovers.com/collections/anti-scratch-couch-covers
Common mistakes that make patches peel or look messy
Keep these quick “do nots” in mind:
- Skipping the dry time after cleaning (the patch sticks now, lifts later).
- Pulling snagged threads instead of trimming them.
- Patching while the cover is stretched tight (when it relaxes, the patch can bubble or lift).
- Using sharp patch corners that catch on hands, paws, and vacuum attachments.
- Rubbing the patch to “warm it up” instead of pressing firmly (rubbing can shift the aligned edges).
Once your scratch or small tear is handled, you are ready for the next common emergency: stains. In the next section, we will move from snags to spills with a fast stain-rescue plan for kids, pets, and everyday smudges.
Fast Stain Rescue for Couch Covers (Kid Spills, Pet Accidents, Everyday Smudges)
You have already seen how a quick patch can handle snags and small tears. Now let’s talk about the other half of real life: stains that show up fast and feel like they ruin the whole room.
The good news is that most “uh-oh” moments are fixable with a simple, repeatable routine. And if you are also doing couch cover repair (like patching a weak spot with a sofa cover patch kit), learning stain rescue helps you protect the area around the patch so it stays neat and secure.
The first rule (that saves the fabric): blot, don’t rub
Rubbing pushes liquid deeper into the fibers, spreads the mess outward, and can rough up the fabric surface. That matters for both looks and durability, especially on stretchy slipcovers where friction can create fuzzing or distortion.
Instead, do this:
- Grab a clean, dry cloth or paper towel
- Blot from the outside edge toward the center
- Keep switching to a clean section of the cloth so you are lifting, not smearing
The safest stain removal sequence (works for most covers)
Think of stain removal like levels, starting gentle and only getting stronger if you need to:
-
Cold water blot
- Dampen a cloth with cold water (not hot)
- Blot, lift, repeat
-
Mild soap solution
- Mix a few drops of mild dish soap in cool water
- Dab, then blot with plain water to remove soap residue
-
Fabric-safe stain remover (spot test first)
- Test on an inside hem or hidden edge first
- Use the smallest amount that works, then blot clean
This “gentle to stronger” approach follows common upholstery care best practices and helps you avoid the accidental damage that turns a small stain into a permanent light spot. Always check your fabric care label before you use cleaners or wash, and if you are unsure about symbols, the Cleaning Institute has a helpful guide to fabric care basics: https://www.cleaninginstitute.org/
Stain cheat sheet: what to do in the first 60 seconds
Print this mindset: lift fast, keep it cold, do not scrub.
| Stain type | What to do in the first 60 seconds | What to avoid | Next step (after blotting) |
|---|---|---|---|
| Juice, soda, coffee, ketchup | Blot immediately with a dry cloth, then cold water blot | Hot water (can set some dyes), rubbing | Mild soap solution, then rinse blot |
| Grease (pizza, butter, lotion) | Blot, then press a dry towel to absorb | Adding water right away (can spread grease) | Sprinkle a little baking soda or cornstarch for 10 to 15 minutes, then brush off and use mild soap |
| Ink, marker, pen | Blot gently to prevent spreading | Scrubbing (drives ink deeper) | Dab with rubbing alcohol on a cloth, spot test first, then rinse blot |
| Muddy paw prints | Let mud dry if it is thick, then brush off | Smearing wet mud around | Cold water blot, then mild soap solution |
| Pet accident (urine) | Blot fast and firmly, then cold water blot | Ammonia-based cleaners (can smell similar and encourage repeat marking), harsh fumes | Use an enzyme cleaner that is fabric-safe, spot test first, blot dry thoroughly |
If you have pets, choose cleaners carefully and keep them out of licking range until the area is fully dry. ASPCA safety resources can help you think through pet-safe home choices: https://www.aspca.org/pet-care/animal-poison-control/people-foods-avoid-feeding-your-pets (general safety guidance).
If the cover is washable: wash smart so it keeps its fit
When blotting and spot cleaning are not enough, washing can reset the whole cover and remove lingering odors.
Wash tips that protect stretch and shape:
- Use a gentle cycle with cool water unless the care label says otherwise
- Use a mild detergent, skip harsh bleach unless the label allows it
-
Air-dry when possible to help preserve elasticity and sizing
(Heat can shrink some fabrics or reduce stretch recovery, which affects fit)
Design-savvy tip for busy homes: if your cover is a fitted style, take it out promptly and reshape it while damp so it dries closer to its intended form.
Prevent repeat stains (especially during “high-risk” moments)
Some days are just spill-prone: movie night snacks, toddler crackers, puppy training, guests with red wine. Instead of living on edge, add a washable top layer when you know chaos is coming.
For high-risk homes, consider an easy-clean layer like Waterproof Sofa Covers: https://frenchcovers.com/collections/waterproof-sofa-covers
This can dramatically reduce how often you need emergency spot cleaning and helps keep your main cover looking “company ready.”
Where this connects to the next section
Once stains are handled, the next step is stopping the cycle. If you are also dealing with pet scratch repair for couch fabric or you keep searching how to fix a torn sofa cover after the same corner gets targeted, prevention matters just as much as repairs. Up next, we will go through realistic pet and kid proofing habits that still look good in a lived-in, family-friendly space.

Prevention That Still Looks Good: Pet- and Kid-Proofing Your Sofa in Real Life
You already know a fast couch cover repair can save the day. But if you are doing the same pet scratch repair for couch spot every week, prevention becomes the real time-saver. The good news: “kid proof” and “pet proof” does not have to mean “dull” or “covered in mismatched blankets.” Think of it as styling with purpose, so you do fewer repairs and your living room still feels like you.
Below are realistic routines that pair beautifully with a sofa cover patch kit for those inevitable moments when life still happens.
1) Create “pet zones” (so paws land on the throw, not the cover)
If your dog or cat has a favorite seat, claim it on your terms.
- Drape a dedicated throw or blanket on that one cushion and the armrest corner they rub against most.
- Tuck the edges into the seat crease so it stays put during zoomies and naps.
- Wash the throw weekly (or as needed) so the main cover stays fresher longer.
Why this works: most wear clusters in one or two spots. By giving pets a consistent “yes” spot, you reduce friction, oils, and claw contact on the main cover. And if a snag happens anyway, you will have a smaller area to handle with how to fix a torn sofa cover steps (patching is easier when damage is localized and not spreading).
Real-life set-up: Pet nap corner
- One neutral textured throw on the pet’s cushion
- A small washable mat on the floor for post-walk paws
- A toy basket nearby to redirect energy away from the sofa
Style tip: choose a throw that matches your sofa tone but has texture (waffle, knit, bouclé look). Texture hides tiny marks better than flat fabric.
2) Trim the risk: nails, claws, and a “scratch yes-zone” near the couch
A patch kit is amazing, but fewer scratches means fewer patches.
- Keep nails trimmed on a simple schedule (weekly checks for indoor cats, every 2 to 4 weeks for many dogs, depending on growth).
- Place a scratching post or pad close to the sofa, ideally within a few feet of the corner they target.
- Reward use of the scratch alternative (a treat or praise right after they scratch the post).
If your cat keeps going back to the same sofa corner, that is a signal: the texture and location are satisfying. Match that satisfaction with a better option placed even closer.
This is the “repair plus prevent” combo: use your sofa cover patch kit once, then reduce repeat damage so the patch stays discreet longer.
3) Choose smarter textiles and colors (the mini style guide that hides real life)
Some fabric choices are simply more forgiving when you have kids, pets, or both.
- Textured weaves help disguise small snags and everyday smudges.
- Darker mid-tones (think charcoal, taupe, denim blue, warm gray) camouflage normal life better than bright solid colors that show every mark.
- If you love light colors, use them in removable accents (pillows, throws) instead of on the highest-touch seating zone.
Design-savvy note: a slightly mottled or heathered look is often the sweet spot. It reads intentional and elevated, but it is also practical.
4) Rotate and reset (a 2-minute habit that spreads wear)
The fastest way to extend the life of a cover is to stop one cushion from doing all the work.
- Once a week, swap cushion positions left-to-right.
- Flip cushions if your cover and insert allow it.
- Smooth the cover back into place so it is not stretched tightly at one seam (tight tension can make small tears worse, and you will be reaching for couch cover repair supplies sooner).
This matters because high-traffic areas are where tiny snags become real tears. Rotation reduces stress on the same seam line, which makes every future “quick fix” more successful.
5) Make protection stylish (so it looks like décor, not damage control)
Protection looks best when it feels coordinated.
- Pick pillow covers and a throw in the same color family as your sofa cover.
- Add one pattern (stripe, small check, subtle geometric) to disguise pet hair and daily lint.
- Layer in two textures max so it stays calm and intentional.
If you want a quick refresh that still works for pets and kids, start with a throw that can take the daily abuse and still look good folded on the armrest.
Internal link: Add a fast style refresh: Throws and Blankets
2 to 3 real-room routines you can copy
Family movie night (high snack risk, high cuddle traffic)
- One washable throw across the seat cushions
- Drinks on a tray to avoid “cup on couch” moments
- A lint roller in the side table (seriously, it counts as prevention)
Pet nap corner (repeat scratch zone)
- Throw on the favorite cushion + armrest
- Scratch post placed next to the sofa corner they target
- Weekly cushion rotation so the same seam is not under stress
Guest-ready in 3 minutes (the quick reset routine)
- Fold the pet throw into a neat rectangle and place it on the armrest
- Fluff pillows and stack two in a clean “intentional” cluster
- Quick lint roll on the seat front edge
- If you spot a snag that could spread, handle it immediately with your sofa cover patch kit so it does not become a bigger “how to fix a torn sofa cover” project later
These habits do not eliminate accidents, but they dramatically reduce how often you need repeat pet scratch repair for couch fixes. And if you are still patching the same spot again and again, that is your clue that a small repair is no longer the best long-term strategy.
Next up, we will talk about exactly when a patch is not enough and the quick upgrade path that protects your sofa without buying a whole new one.
When a Patch Isn’t Enough: The Quick Upgrade Path (Without Buying a New Sofa)
Your sofa cover patch kit is perfect for quick saves, especially when you are juggling pets, kids, and a calendar that never slows down. But if you find yourself doing the same couch cover repair on repeat, it may be time for a small upgrade that stops the cycle, without committing to a brand-new sofa.
Signs it is time to upgrade the cover (not just patch it)
A patch is a smart solution when the fabric is stable and the damage is isolated. If any of the issues below keep popping up, your cover is telling you it needs backup:
- Repeated damage in the same area: The same corner, same armrest, same front seat edge. That is a common pattern with pet scratch repair for couch trouble spots.
- Thinning fabric on seats or armrests: If the fabric feels worn, fuzzy, or almost see-through, a patch may stick but the surrounding area will keep failing.
- Loose fit that keeps shifting: When a cover slides around, it creates extra friction and tension. That makes it harder to patch cleanly and easier to re-tear, even if you know how to fix a torn sofa cover.
- Stains that return after cleaning: If you have cleaned properly and the mark keeps resurfacing, it may be set in, absorbed through layers, or the fabric is simply holding onto discoloration from heavy use.
Friendly rule of thumb: if you are patching the same spot more than once, the “quick fix” is no longer saving time.
The best targeted replacement strategy (replace the most abused layer first)
You do not have to redo everything to get your living room back to calm. The fastest upgrade path is to protect the high-traffic zones first:
- Seat surfaces: These take the most weight, snacks, spills, and daily sliding in and out.
- Armrests: Prime claw territory and the place where fabric rubs down fastest.
- Front edges and seams: Where tugging, kicking feet, and vacuuming can stress the fabric.
This approach is budget-friendly because you are replacing or reinforcing only what gets “used up” first, while still using your patch kit for occasional small issues. Think of it as moving from emergency couch cover repair to a more preventative setup.
Want a clean, uniform look? Choose a lifestyle-fit protective cover
Patches are meant to be practical, but sometimes you want the whole sofa to look consistent again, especially if the couch sits in the center of your home. A full protective cover makes sense when:
- You want a smooth, coordinated look that reads as intentional design, not constant repair.
- Your household includes pets, kids, or frequent guests, meaning the wear is predictable, not occasional.
- You are tired of “patch placement planning” and want one solution that handles daily life.
If you are ready to move from spot-fixing to full coverage, explore options here: Sofa and Couch Covers.
Cost comparison narrative (no numbers, just real-life math)
Here is the practical way many families think about it:
- Patch: Best when the damage is small, the fabric is strong, and you need a fast win today.
- New cover: A middle step that refreshes the entire look and prevents repeat issues, especially after frequent pet scratch repair for couch hot spots.
- Reupholstery or replacement sofa: The biggest commitment, usually saved for when the underlying furniture is damaged or you want a major style change.
Protecting now often delays the expensive option later. In other words, a smarter cover can be the “pause button” that keeps you from shopping for a whole new sofa before you are ready.
Quick upgrade decision flowchart (save this)
-
Is the fabric missing or the rip is under tension?
Yes → Upgrade coverage (patches will keep popping off)
No → Continue -
Are you repairing the same spot again?
Yes → Add targeted protection (seat or armrest layer)
No → Continue -
Does the cover slide, bunch, or lose shape daily?
Yes → Consider a better-fitting protective cover
No → A patch is probably enough for now
This sets you up for the next step: once you upgrade or reinforce the right areas, you will want a simple plan to keep the damage from coming back. In the next section, we will tie it all together with easy maintenance habits and a quick routine that keeps your sofa looking guest-ready even in a busy, pet-friendly home.

So, a quick couch cover repair is your secret weapon for those everyday "oh no" moments. With a simple sofa cover patch kit, you can handle small tears and pet scratches in minutes, keeping your living room looking calm and collected. Remember to triage first—if the fabric lies flat, patch it; if it's stretched or missing, it's likely time for an upgrade.
Your time and peace of mind are precious. Save your sofa today: set up a 5-minute “couch first-aid” routine—and if scratches keep coming back, upgrade to a tougher, easy-wash protector this week before the next spill or claw mark. Because a beautiful, functional home isn't about perfection; it's about being prepared for the beautiful, messy life you live in it.
Quick Fix FAQs for Families and Pet Homes
Life happens fast with kids, pets, and cozy movie nights. These FAQs recap the blog’s 5 minute approach to couch cover repair using a sofa cover patch kit, plus a few design smart habits to keep your space looking pulled together. For step by step visuals, revisit the article sections linked below.
Q: Will an adhesive patch damage my couch cover fabric?
A: In the article’s couch cover repair method, the adhesive patch is meant to bond to the cover, not the upholstery underneath, so it should not harm the couch when used on removable covers. Test a small hidden spot first and avoid delicate, loose weave fabrics. See Patch First, Wash Later and 5 Minute Patch Steps.
Q: How do I patch stretchy sofa covers without the patch peeling off?
A: Follow the article’s tip to apply the sofa cover patch kit while the fabric is flat and relaxed, then press firmly so the edges seal cleanly before stretching it back over cushions. Round the patch corners and size it larger than the tear for a longer lasting hold. Review Stretchy Cover Tips and How to Fix a Torn Sofa Cover.
Q: What’s the fastest way to remove a fresh juice or coffee stain from a couch cover?
A: The post recommends acting immediately: blot, do not rub, then use a gentle cleaner safe for your cover and let it fully dry before patching or reinstalling. If the stain leaves a weak spot, a quick couch cover repair with a patch can reinforce the area. See Fast Stain First Aid and Scratches and Stains Fix.
Q: How can I stop my cat or dog from targeting the same sofa corner?
A: Pair pet scratch repair for couch with prevention: after you patch the corner, redirect with a scratching post or chew option and make the spot less tempting with a washable throw or corner cover. The article highlights reinforcing high traffic zones so the same area does not keep fraying. See Prevent Repeat Damage and High Wear Zones.
Q: When should I replace the cover instead of repairing it?
A: If the fabric is thinning everywhere, seams are splitting in multiple places, or the fit is baggy after washing, replacement may look cleaner than repeated couch cover repair. For one off tears, small holes, or pet scratches, the blog’s sofa cover patch kit approach is usually the quickest fix. See Repair vs Replace and 5 Minute Patch Steps.