Did your patio cover tear right when guests were coming over, or after your dog made it their new favorite spot? A small rip can turn into a big mess fast, letting rain, dirt, and sun reach the furniture you love.
If you are juggling kids, pets, or a busy shop or coworking space, you need a fix that is quick, strong, and still looks good. The good news is you can repair torn patio cover damage in minutes with the right patio cover patch kit.
In this guide, you will learn three easy methods for outdoor furniture cover repair, plus tips for choosing a waterproof patch for outdoor fabric that blends in with your style.
First, let’s start with the fastest patch option for small tears.
Before You Patch: 5 Quick Checks That Make Repairs Last
Before you open your patio cover patch kit and get to work, take two minutes for these quick checks. They are the difference between a patch that stays put through sun and rain, and one that peels the first time someone tightens a strap or a gust hits your balcony. If your goal is to repair torn patio cover damage once (not three times), this little prep ritual is your best friend.
1) Identify the cover material, then choose the right patch type
Not all outdoor covers are created equal, and neither are patches. The most common patio cover materials you will see are:
- Polyester or polyester blends (often with a water-resistant coating)
- Oxford fabric (a durable woven polyester, common in higher-end covers)
- Vinyl or PVC (smooth, slightly glossy, very water-shedding)
Match your repair to your material:
- Woven fabrics (polyester, oxford) usually do best with an adhesive fabric patch or fabric repair tape designed for outdoor textiles.
- Vinyl/PVC typically needs a vinyl repair patch or vinyl cement style repair, because fabric patches may not bond well to slick surfaces.
Actionable tip: Check the tag, product listing, or feel the underside. If it feels like a woven textile, treat it like fabric. If it feels smooth and plastic-like, treat it like vinyl. When in doubt, read your patch kit instructions, most manufacturers spell out compatible materials and recommended conditions.
If you are realizing your cover fabric is brittle, cracking, or thinning in multiple areas, repair can still help short-term, but it may be time to consider an upgrade. (For a fresh start with sturdier options, you can browse our Outdoor Furniture Covers here: https://frenchcovers.com/collections/outdoor-furniture-covers)
2) Clean and fully dry the area (this is where most patches fail)
For outdoor furniture cover repair, adhesion is only as good as the surface underneath. Patio life leaves invisible troublemakers behind:
- Dust and pollen
- Sunscreen and body oils
- Grilling residue
- Moisture trapped in the weave
Even the best waterproof patch for outdoor fabric can lift if it is applied over residue or damp fibers.
Quick prep routine:
- Wipe the area with mild soap and water.
- Rinse and wipe again with clean water.
- Let it dry completely, including inside the tear.
If your patch kit recommends a specific cleaner or prep wipe, follow that guidance. Many adhesive-backed patches also specify temperature ranges and surface prep steps right on the packaging, and those details matter.
3) Stop the rip from spreading before you cover it
Tiny rips love to travel, especially when the cover is pulled tight over corners or cinched down in wind.
Do this first:
- Trim frayed threads carefully so they do not keep unraveling under the patch.
- If the tear is jagged, gently bring edges closer together so the patch supports the fabric, not a messy gap.
Then, when you cut your patch:
- Round the corners (think soft oval or rounded rectangle). Sharp corners are the first place peeling begins, especially on flexible covers that fold and flex.
4) Measure beyond the tear (bigger than you think, but still chic)
A patch should not just cover the hole, it should grab healthy fabric around it.
A reliable rule:
- Aim for at least 1 inch (about 2 to 3 cm) of patch margin on all sides of the tear.
Example that makes this real:
- If you have a 1 inch slit and you cut a patch that barely extends past it, the edges take all the stress and start to lift.
- If you use a patch that extends 1 inch beyond the slit in every direction, tension spreads out across more surface area and the bond holds longer.
For high-tension areas (near straps, corners, tight seams), go larger. Those are the spots that get tugged every time you put the cover on, take it off, or secure it for weather.
5) Pick the right moment: mild temps and low humidity
Adhesive needs cooperative conditions to bond evenly. If you patch in cold air, the adhesive can stiffen and fail to grip. If you patch in high humidity or while the fabric is still damp, moisture can interfere with the bond.
Best practice:
- Patch in mild temperatures and low humidity, and avoid doing it right before evening dew.
Again, follow the patch kit instructions for the ideal temperature window and recommended set time. A few extra minutes of proper bonding now saves you from redoing the repair later.
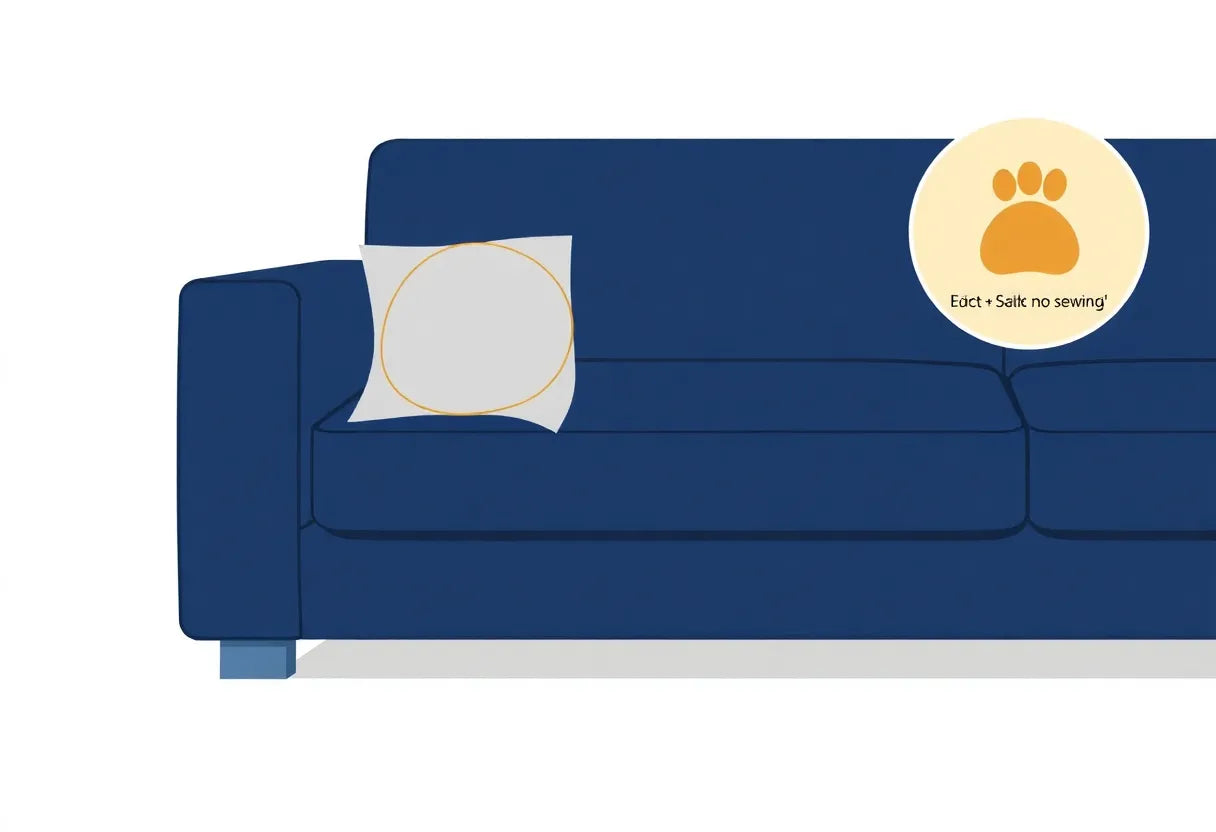
With these five checks done, you are ready for the simplest fix. Next up is Method #1, the fastest way to repair torn patio cover damage using an adhesive patch on the outside, perfect for small, clean tears when you want a durable result that still looks neat and intentional.

Method #1 (Fastest): Adhesive Patch on the Outside for Small Tears
When you need to repair torn patio cover damage quickly (before the next rain, or before the kids decide the rip is a “handle”), an adhesive patch applied to the outside is your simplest win. This method is all about speed and a clean finish, making it ideal when you have a good patio cover patch kit on hand and the tear is still small.
Best for (and when to skip it)
Best for:
- Pinholes from umbrella tips, branches, or grill tools
- Small slits and clean, straight tears (think: 0.5 to 2 inches)
- Low stress zones where the cover lies fairly flat
Avoid this method if:
- The tear runs over a seam, corner, or fold where the cover bends sharply
- The area is constantly tugged (near tie downs, straps, or elastic hems)
Why the caution? In outdoor furniture cover repair, edge lift happens most often at corners and high flex zones, where the fabric repeatedly bends and pulls. A simple outside patch can start peeling there first. Rounded patch corners help reduce those “peel points,” which is a common best practice for adhesive repairs.
Step-by-step: Outside adhesive patch (clean look, fast hold)
Grab scissors, a cloth, mild soap, and your patch. Then follow this quick sequence:
-
Clean the area
- Wipe off dust, pollen, sunscreen residue, and any oily film.
- Use mild soap and water if needed, then wipe again with clean water.
- This matters because adhesive typically fails on outdoor covers due to contamination, not because the patch is weak.
-
Dry completely
- Pat dry and air-dry a few minutes more.
- Even a little trapped moisture can prevent a waterproof patch for outdoor fabric from bonding evenly.
-
Cut a rounded patch
- Cut a patch that extends at least 1 inch (2 to 3 cm) beyond the tear on all sides.
- Round the corners into an oval or soft rectangle. Sharp corners are the first place peeling starts.
-
Apply the patch from the center outward
- Peel the backing and place the patch carefully.
- Press firmly starting in the center, then smooth outward to push out air and ensure full contact.
-
Add pressure, then weight it for 10 to 20 minutes
- Rub firmly with your palm for 30 to 60 seconds.
- Place a flat object over the patch (like a cutting board) and add a light weight.
- This pressure step is what makes the bond feel “set” faster, especially on textured outdoor fabrics.
Pro tip: Make it look intentional (not “repaired”)
A patch can actually add charm if you treat it like a design detail:
- Match the patch color to your cover for a nearly invisible fix.
- Or go for a deliberate contrast that looks tailored, like black on gray or sand on taupe. It reads more “French chic accent” than “oops.”
Quick durability upgrade (optional, but worth it)
If your materials are compatible, run a thin line of outdoor fabric glue around the patch edge after it is applied. This helps reduce edge peel, especially if your cover gets frequent handling.
If you are heading into harsher weather or using your cover daily, it may be time to think beyond a quick patch and protect the whole setup more intentionally. Our heavier-duty seasonal options in the Winter Protective Covers collection are designed for families who want fewer touch-ups when wind and rain roll in.
Next up: what to do when that “small rip” keeps growing, especially near straps and corners. That is where Method #2, the sandwich patch, really shines.
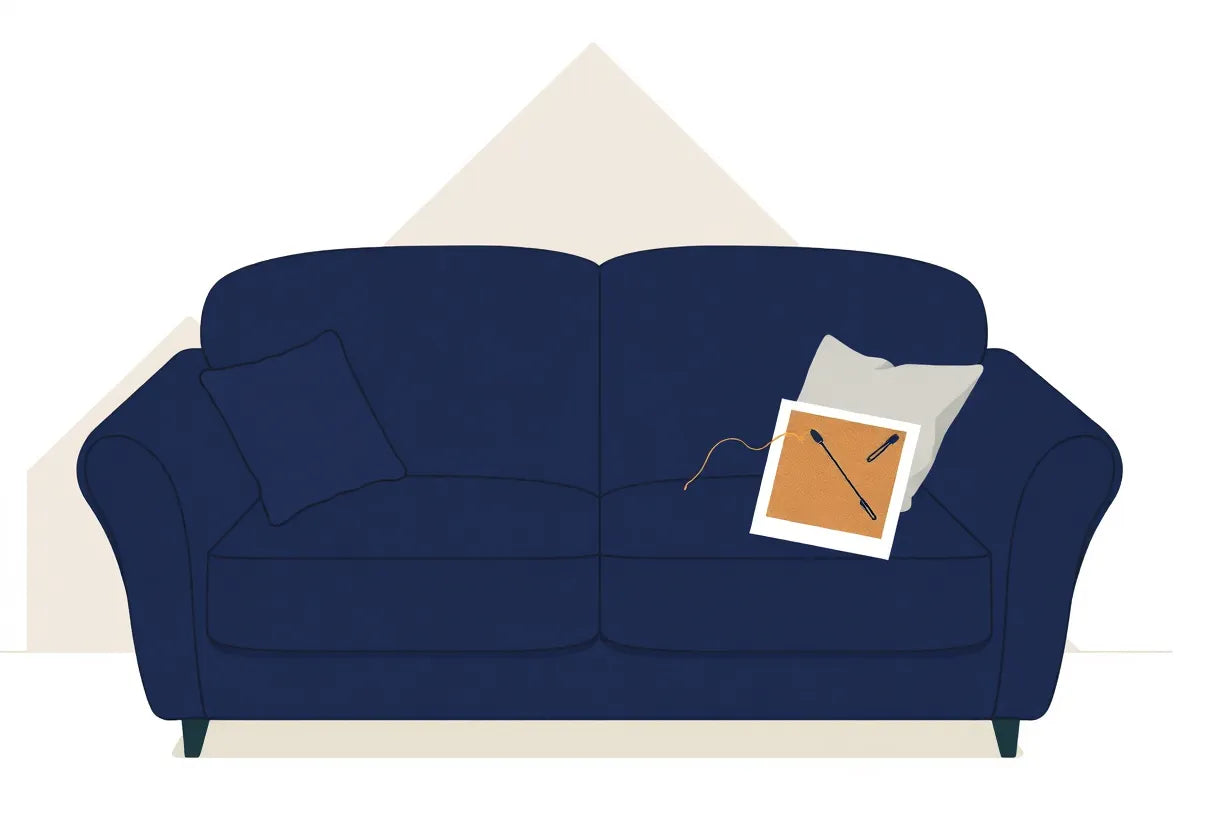
Method #2 (Strongest): Patch Inside + Outside (“Sandwich Patch”) for Rips That Keep Growing
If Method #1 is your quick fix, this is your “let’s make it last through real life” solution. When you need to repair torn patio cover damage in a spot that gets tugged, flapped by wind, or pulled tight over corners, a single outside patch can eventually lift. A sandwich patch is the strongest approach because it reinforces the tear from both sides, helping the fabric share the load instead of concentrating stress right along the rip line.
Best for
- Longer rips (especially ones that keep “walking” wider each week)
- Stress points near tie-downs, buckles, corner straps, and elastic hems
- Areas exposed to frequent wind gusts where the cover billows and snaps back
This method is also ideal when you want a reliable outdoor furniture cover repair without needing a sewing machine.
Why the sandwich patch works (the simple physics)
Tears grow fastest when tension is focused at the edge of the rip. By adding a patch on the inside and the outside, you create a wider reinforced zone that distributes pulling forces across more material. Even better, using a larger patch on the inside acts like a backing plate, reducing stress concentration at the tear edges. This tension distribution concept is the same reason reinforced seams and backing patches outperform tiny “band-aid” fixes.
What you need
- Your patio cover patch kit (ideally with adhesive patches appropriate for your cover material)
- Scissors (to round corners cleanly)
- Rubbing alcohol or a gentle cleaner and a lint-free cloth
- A roller, spoon, or firm card for pressure
- A few books or a small weight
If your cover needs a waterproof patch for outdoor fabric, check your kit packaging for outdoor and weather-rated wording, and confirm cure time and temperature range. Cure guidance varies by brand, but most repair kit packaging recommends letting adhesive set fully before heavy use.
Step-by-step: Sandwich patch in 10 to 20 minutes (plus cure time)
-
Open up access to the inside of the cover
Remove the cover from the furniture if you can. If it is a big cover, drape it over a table so you can reach both sides of the tear comfortably. -
Clean and dry both sides thoroughly
Clean a few inches around the rip on the inside and outside. Oils (think sunscreen and grill smoke residue), dust, and moisture are the top reasons patches fail. -
Trim frays and align the tear
Snip loose threads. Gently bring the torn edges together so the fabric lies flat, not overlapped. -
Cut two patches and round every corner
- Outside patch: big enough to cover the tear with at least 1 inch (2 to 3 cm) extra on all sides
-
Inside patch: same size or larger
For high-stress points, make the inside patch larger than the outside to spread load more effectively.
-
Apply the inside patch first (your “backing”)
Carefully place it inside the cover, centered under the tear. Press from the center outward to push out air and improve contact. -
Apply the outside patch, perfectly aligned
Place the second patch directly over the tear on the outside, matching the inside patch position as closely as possible. Press firmly from center outward. -
Apply serious pressure and add weight
Roll or rub firmly for 30 to 60 seconds, then set a flat weight on top for 10 to 20 minutes. -
Respect cure time before tension
This part is the difference between “patched” and “permanently patched.” Let the adhesive cure as recommended on your patch kit packaging before you pull the cover tight, cinch straps, or expose it to strong wind.
Mini case example: The corner-strap tear that keeps coming back
Picture a rip forming near a corner strap, right where you tighten the cover to keep it snug. Each time you cinch the strap, the fabric pulls at the same point and the tear creeps longer.
With a sandwich patch:
- The inside patch acts as reinforcement, so the strap tension spreads across a wider area.
- The outside patch protects the tear from rain and abrasion.
- Result: when you tighten the cover, you reduce the pull on the rip itself instead of stressing that fragile edge.
If your main seating is taking the brunt of weather and daily family use, this is also a great moment to consider upgrading to a better-fitting cover designed for your layout. After patching, you can browse Patio Sofa and Loveseat Covers for a snug, tailored layer of protection that helps prevent future strap-zone tears: https://frenchcovers.com/collections/patio-sofa-loveseat-covers
Quick troubleshooting
- Patch edges lifting: your patch may be too small, corners not rounded, or the surface still had residue. Reclean, go bigger, and press longer.
- Rip still spreading: add a larger inside patch to distribute tension, or move to Method #3 if the area is heavily stressed or you want a cleaner finish.
Next up, if you want a repair that looks nearly invisible and feels especially “premium,” we will move to Method #3: Sew + Seal for a polished, like-new result.

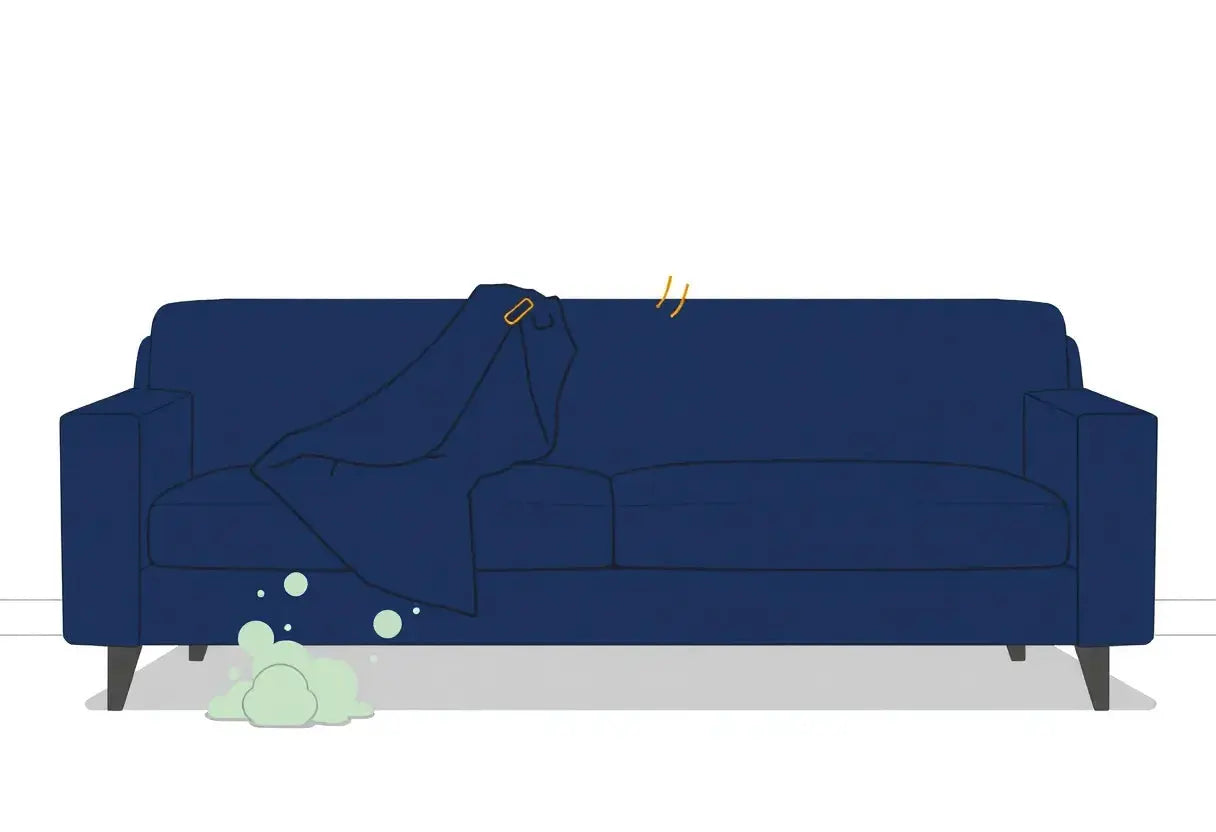
Method #3 (Most Polished): Sew + Seal for a Nearly Invisible Repair
If you want your outdoor setup to look “as if nothing ever happened,” this is the most refined way to repair torn patio cover damage. Sewing gives you a smooth, tailored finish (very French, very tidy), and sealing afterward keeps the repair truly weather-ready.
This method is especially helpful for premium covers, bigger tears, and any spot that sits front and center when guests come over.
Best for (and when to skip it)
Best for:
- Longer tears where adhesive alone may struggle over time
- High-visibility areas where you want a clean, “like new” look
- Fabric covers (polyester, oxford fabric, canvas-style outdoor textiles)
Do not sew if:
- The cover is brittle vinyl/PVC or already cracking. Stitching can cause the tear to travel. In that case, switch to a vinyl-specific solution from your patio cover patch kit, or use a dedicated vinyl repair approach.
What you need (simple tools, strong results)
- Heavy-duty outdoor thread (polyester upholstery or outdoor thread)
- Needle or sewing machine (both work)
- Scissors and clips (or painter’s tape) to hold edges aligned
- Waterproof seam sealer or waterproof patch tape (to seal needle holes)
- Optional: a narrow, color-matched patch strip for a crisp finishing line
This is still beginner-friendly. Think of it as “basic stitches plus smart sealing.”
Step-by-step: Align → Stitch → Seal (the weatherproof formula)
1) Align the torn edges neatly
Bring the torn edges together so the fabric sits flat, not puckered. Clip or tape in place.
If threads are fraying, trim them so the tear closes cleanly. The neater this step, the more invisible the final outdoor furniture cover repair will look.
2) Stitch with outdoor thread (running stitch or zigzag)
Choose one of these:
- Simple running stitch (hand-sewn): great control, easy to learn, ideal for small to medium tears.
- Zigzag stitch (machine): excellent for strength and flexibility, especially if the area flexes when you put the cover on.
Keep stitches even and moderately close together. A good rule of thumb for outdoor fabrics is short, consistent stitches because long stitches can snag and pull.
Style win: pick thread that matches your cover, and keep your stitch line straight. If your cover is a solid neutral (charcoal, sand, taupe), a matching thread makes the repair nearly disappear.
3) Seal the stitching (this is what makes it outdoor-ready)
Here is the important outdoor detail many people miss: stitching creates tiny needle holes, and those holes can let water in. That is why outdoor gear and waterproof fabric repair guidance consistently recommends seam sealing after sewing.
Apply either:
- Waterproof seam sealer: brush a thin, continuous layer directly over the stitched line on the outside (and inside if the area gets heavy rain exposure), or
- Waterproof patch tape: lay it over the stitch line like a clean stripe.
This step turns your repair into a true waterproof patch for outdoor fabric solution, not just a cosmetic fix.
4) Optional: Finish with a color-matched patch strip for a crisp line
If you want the most polished look, add a narrow strip of patch tape or a slim patch from your patio cover patch kit over the sealed stitches. It creates a neat “design line” that looks intentional, especially along edges or panels.
Why this method lasts longer than a patch alone
- Sewing reconnects the fabric structure so the tear is not relying only on adhesive.
- Sealing protects against moisture intrusion through needle holes, which is a common weak point in outdoor fabric repairs.
- The finished surface is flatter and cleaner, which helps reduce snagging when you remove and replace the cover.
Quick tip for busy households and entertaining zones
If the torn cover protects a high-splash area (like near a grill), choose a darker matching thread and a clean finishing strip. It hides little smudges and keeps everything looking pulled together. If your cover is for a grill or outdoor cooking station, you may also want to browse our BBQ & Grill Covers for an upgrade once your current cover is back in shape: https://frenchcovers.com/collections/bbq-grill-covers
Next, let’s make sure this repair stays chic and strong with a few simple habits that prevent the next tear before it starts.
Make It Last: Simple Habits That Prevent the Next Tear
You have done the hard part and used a patio cover patch kit to repair torn patio cover damage. Now let’s help that patch stay put and keep the rest of the cover from developing its next weak spot. Most outdoor cover tears do not start as dramatic rips. They begin at high stress zones like corners, strap anchors, and edges, then grow when wind, friction, and daily “grab and go” handling pull at the fabric.
Here are simple, realistic habits that fit busy family life and keep your outdoor furniture cover repair looking clean and chic for longer.
1) Reduce friction (the fastest way to stop surprise snags)
Dragging is the silent troublemaker. When you pull a cover across textured pavers, concrete, brick, or a rough deck board, the fabric and seams take a beating.
- Lift and place instead of dragging, especially around corners of tables and chair arms.
- If the cover is heavy or oversized, do a two person “lift and drape” so it does not scrape along the ground.
- Watch for the common snag points: sharp chair backs, umbrella cranks, Velcro tabs, and zipper pulls.
Practical tip: If you notice scuffing near the hemline, that is often the same zone where the next tear starts.
2) Wind-proofing that protects seams (without over-tightening)
Wind is what turns “tiny slit” into “why is this hole so big?” in a single weekend. The goal is to secure evenly so the cover does not flap, but also not so tight that seams and strap stitches take all the force.
- Tighten straps evenly on all sides, then stop once the cover is snug.
- Avoid cranking one strap super tight while others are loose. That concentrates tension near one corner and can create new rips right where straps connect.
- If your cover has drawcords, use them to reduce billowing first, then use straps for final stabilization.
If you used a waterproof patch for outdoor fabric near a strap or edge, this matters even more, because repeated tugging can lift patch corners over time.
3) Storage rule: dry before folding, always
This is the most overlooked step, and it directly affects patched areas. Folding a damp cover can lead to mildew and can also shorten the life of adhesives near the patch.
- Let the cover dry fully before storing, including the underside where moisture hides.
- Fold loosely around patched zones instead of creasing directly through them.
- Store in a breathable bag or bin, not an airtight container if there is any chance moisture is still present.
A quick routine that works: after rain, give it a shake, wipe pooling water, then let it air dry before you tuck it away.
4) Pet and kid-proofing without feeling strict
We love the family energy outside, but claws and playful climbing are tough on covers.
- Create a nearby “yes zone” for paws and play: a scratch-friendly mat, a durable outdoor rug corner, or a toy basket next to the seating area.
- Teach a simple rule: toys on the mat, not on the covered furniture.
- If your pet consistently targets the cover, consider adding extra protection designed for real life wear and tear. You can find options in our Pet Furniture Protection collection: https://frenchcovers.com/collections/pet-furniture-protection
This is one of the easiest ways to prevent needing to repair torn patio cover damage again a week later.
5) Seasonal refresh: a 2 minute inspection that saves hours later
Outdoor maintenance routines often rely on quick, repeated checks. Do the same with your cover. Every few weeks, walk around it and look closely at the most common tear locations:
- Corners (especially where the cover stretches over squared edges)
- Straps and buckle anchor points
- Edges and hems (where friction and wind whipping show up first)
Mini checklist:
- Any loose threads or fraying? Trim them before they catch and run.
- Any patch edges lifting? Press them down and reinforce early, before water and dirt creep underneath.
- Any new pinholes? Small patches now are far easier than a long split later.
These habits set you up perfectly for what comes next: if you are wondering whether your cover is still worth repairing or if it is time to upgrade to something tougher, the next section will help you decide with confidence.

So, there you have it. With a little prep and the right technique, you can repair torn patio cover damage quickly and keep your outdoor space looking effortlessly chic. Whether you choose a speedy adhesive patch, a strong sandwich fix, or a polished sew-and-seal, your patio cover patch kit is a simple solution for outdoor furniture cover repair that lasts. Remember, a durable fix starts with a clean, dry surface and a waterproof patch for outdoor fabric applied with care.
Don’t replace your cover yet—repair it today, then upgrade protection for the busy season. Browse FrenchCovers outdoor and pet-friendly cover options to keep your space neat with less effort this week.
Because a beautiful, protected outdoor room isn't just about furniture; it's about creating more time for the moments that matter.
FAQ: Quick, Chic Fixes for a Torn Patio Cover
Busy household, playful pets, or a stylish patio setup? This FAQ pulls the key tips from our guide, “3 Easy Ways to Fix a Torn Patio Cover With a Patch Kit (Durable + Chic),” so you can repair torn patio cover damage fast, keep things looking polished, and protect the pieces you love.
Q: What’s the best patch kit for a patio cover: fabric or vinyl? A: In the article, we recommend matching the patch to your cover material: fabric patches for woven outdoor covers, vinyl patches for slick, plastic-like finishes. For most outdoor furniture cover repair jobs, a patio cover patch kit with a waterproof patch for outdoor fabric is the safest all-around choice. See Patch Method 1: Stick On Patch and Choose the Right Patch Material.
Q: Will an adhesive patch stay on in rain and heat? A: Yes, if you prep like we outline: clean, dry, and smooth the area before applying firm pressure, then allow full cure time before heavy rain. For long-lasting outdoor furniture cover repair, pick a patio cover patch kit labeled as a waterproof patch for outdoor fabric. Review Surface Prep Checklist and Weatherproofing Tips.
Q: How big should my patch be compared to the tear? A: Our rule from the guide: cut your patch larger than the tear on all sides, so stress is spread out and the edges stay sealed. This helps your repair torn patio cover fix look cleaner and hold up longer, especially with kids and pets around. See Sizing Your Patch for Strength and Cutting a Rounded Patch.
Q: Can I sew a patio cover and still keep it waterproof? A: You can, but stitching creates needle holes, so the article suggests sealing the seam afterward with a waterproof patch for outdoor fabric or seam sealer for full protection. This combo is ideal when a tear is long or on a high-tension area and you still want a chic finish. Follow Patch Method 3: Sew Then Seal and Waterproof Finishing Steps.
Q: When should I stop repairing and replace the cover instead? A: We suggest replacing if the fabric is brittle, cracking, or tearing in multiple spots, or if seams and straps are failing, since a patio cover patch kit will be a short-term fix. If you are constantly doing outdoor furniture cover repair, a fresh cover often saves time and keeps your space looking refined. Check Repair vs Replace Guide and Signs Your Cover Is Worn Out.