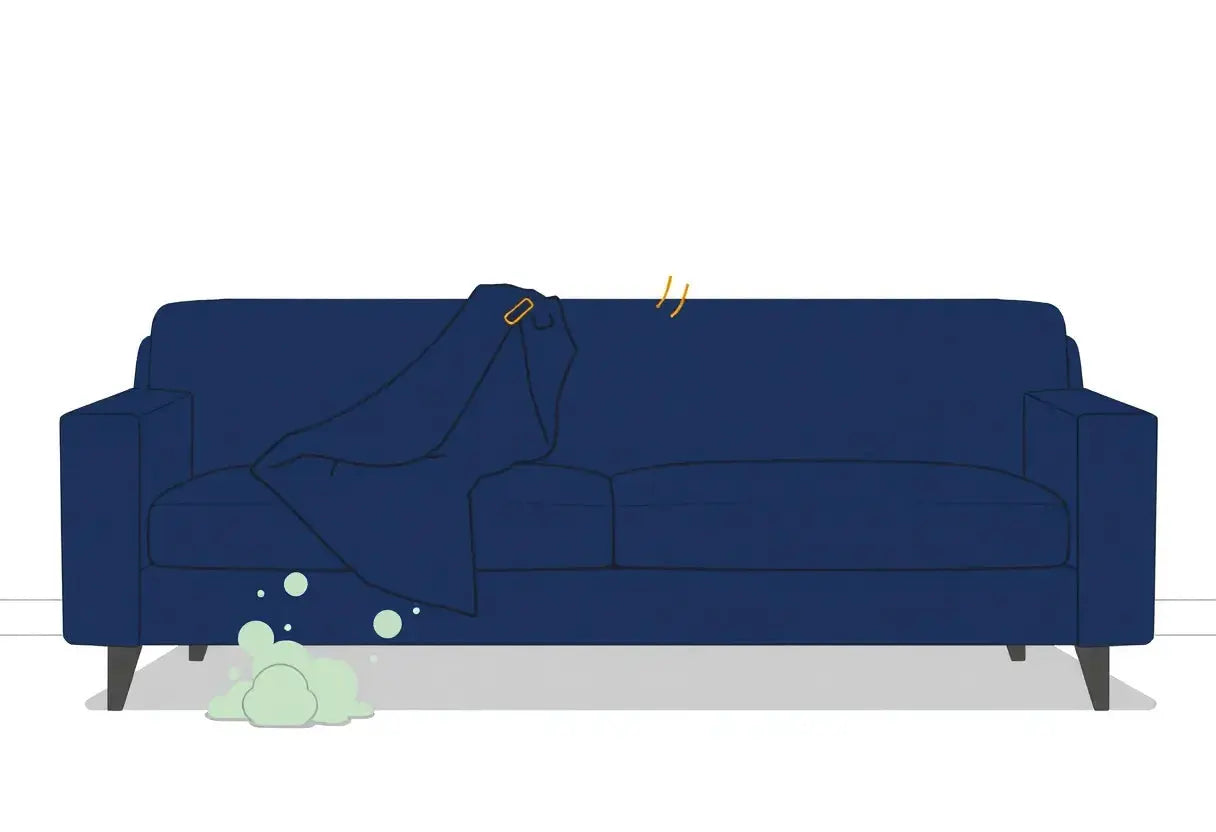
That tiny rip in your sofa cover can feel like a big deal. One minute the living room looks pulled together, the next it looks worn out, thanks to kids, pets, or a busy workday rush.
If you are juggling family life or caring for a premium or vintage piece, you need a fix that is fast, neat, and strong. The good news: you can repair sofa cover damage without replacing the whole thing.
In this guide, we compare patch vs sewing sofa cover options so you can choose what fits your fabric, your time, and your style. You will also learn how to patch fabric tear spots and fix torn couch cover areas so they blend in beautifully.
First, let’s look at what caused the tear and what that means for your best repair.
Patch Kit vs Sewing: A Quick Decision Checklist
You have two solid ways to repair sofa cover damage: patching (fast and tidy) or sewing (strong and long-lasting). The best choice depends on three things: where the tear is, how much stress that spot gets, and how your fabric behaves. Use this mini checklist to decide quickly, then you will be ready for the step-by-step method in the next section.
Quick checklist: Patch or sew?
Choose a patch kit if most of these are true:
- The tear is small and the fabric edges are clean (not heavily frayed).
- It is on a low to moderate tension area (not constantly stretched when people sit).
- You need a fast fix that helps you fix torn couch cover damage today, especially in kid and pet homes.
- The fabric is a stable woven (common slipcover weaves, cotton blends, many polyester covers).
Choose sewing if most of these are true:
- The damage is a seam split (thread broke, fabric is still mostly intact).
- The tear is on a high-friction, high-tension zone where bodies and movement pull the cover (seat front edge, arm front).
- You want the most durable repair, even if it takes a bit longer.
- The tear sits near structure details like a zipper, piping, or elastic where a patch can look bulky.
Fabric safety first (especially for premium or vintage looks):
- If your cover is delicate (velvet, linen blends, brushed textures), test any adhesive on a hidden inside hem or tucked-under area first. Some adhesives can stiffen fabric or leave a faint shadow that is hard to unsee in sunlight.
- Rule of thumb: the more stretch and daily friction, the more you should lean toward stitching or reinforcement. This is the heart of the patch vs sewing sofa cover decision.
The 3 most common tear locations (and the smart fix)
These quick recommendations cover the spots we see most often in busy family living rooms and high-traffic lounge spaces:
-
Seat top (center panel where you sit)
- Best for: Patch on the inside if the rip is small and clean.
- Why: It is visible, so an inside patch keeps the outside looking smooth.
- When to upgrade to sewing: If it sits near the front edge where the fabric stretches every time someone stands up.
-
Arm edge (outer corner, pet scratch zone)
- Best for: Sewing or patch plus reinforcement, depending on size.
- Why: Arms take constant rubbing, nail taps, and bag straps. Patches alone can peel sooner on high-friction edges.
- Family tip: After you repair sofa cover damage here, consider adding protection designed for frequent contact. Protect high-wear areas with anti-scratch options: https://frenchcovers.com/collections/anti-scratch-couch-covers
-
Seam line (where panels join, often near cushions or zippers)
- Best for: Sewing
- Why: Seams are made to be stitched. Reseaming follows the original construction for the cleanest, most invisible finish, especially near piping or zippers.
Comparison table: Patch kit vs sewing at a glance
| What matters most | Patch kit | Sewing |
|---|---|---|
| Time | Fast (often minutes) | Moderate (often 10 to 30 minutes) |
| Skill level | Beginner-friendly | Beginner to intermediate |
| Durability | Good for small, low-stress tears | Best for high-stress areas and seam splits |
| Visibility | Very low when placed inside | Very low with neat stitches and matched thread |
| Best use cases | Clean cuts, small snags, quick rescue | Seams, edges, repeated splitting, high friction |
One last decision tip before you start
If you are staring at the tear and thinking, "This spot gets sat on constantly," treat it like an activewear seam, not a decorative pillow. In other words: movement plus friction calls for stitching or reinforcement, even if a patch feels tempting.
Next up, we will walk through how to patch fabric tear areas the no-stress way, including which patch type to choose and how to place it so it blends in beautifully.

How to Patch a Sofa Cover (No-Stress Method That Still Looks Neat)
If your tear is small and you want a tidy, same-day win, patching is often the smartest way to repair sofa cover damage. In the patch vs sewing sofa cover debate, a patch kit shines when you need speed, minimal tools, and a finish that can be nearly invisible (especially when placed inside the cover).
Below is a simple, family-proof method that helps you fix torn couch cover spots without turning your living room into a crafting zone for hours.
What you will need (pick the patch type that fits your fabric)
Choose one of these common patch options based on how stable or stretchy your cover fabric is:
-
Iron-on patch (best for stable woven fabrics like canvas-like weaves, some poly blends)
Strong hold when heat-safe, with a crisp finish. -
Self-adhesive fabric patch or repair tape (best for slight stretch or when you cannot use heat)
Flexible and quick, great for busy homes. -
Fabric glue plus a backing scrap (best for tricky shapes or tiny snags)
Lets you control placement and edges, but needs proper cure time.
Tip: If you are not sure what your cover fabric is, check the care label and do a tiny test in a hidden area. Prep and compatibility matter more than the brand of patch.
Step-by-step: how to patch fabric tear areas so they blend in
1) Prep like a pro (this is what makes the patch stick)
Adhesive fails most often because of dust, lint, or damp fabric.
- Remove the cover if possible and lay it flat.
- Clean the area with a gentle fabric-safe cleaner or a slightly damp cloth, then wipe again with clean water if needed.
- Remove lint and pet hair with a lint roller or tape.
- Let it fully dry. Even slight moisture can weaken the bond.
Busy-home reality: this prep step is what separates a patch that lasts from one that peels during the next movie night.
2) Trim frays carefully (do not widen the tear)
To fix torn couch cover edges neatly:
- Use small sharp scissors to snip only loose threads.
- Do not pull threads, and do not cut into intact fabric.
- If the tear is gaping, gently bring the edges together with your fingers so you can see the true outline of the rip.
The goal is clean edges that sit together naturally, so your patch reinforces instead of highlighting the damage.
3) Choose inside vs top placement (invisible vs intentional)
- Inside patch (best for a low-visibility repair): Place the patch on the inside of the cover so the outside surface stays smooth. This is the easiest way to keep the repair discreet, especially on seat cushions.
- Top patch (best as a design detail): If the fabric is textured, patterned, or hard to match, a top patch can look intentional. Think of it like a tailored accent, not a cover-up.
If you love a design-conscious finish, top patches look best when they are symmetrical (pairing left and right arms, for example) or when the shape is clean (a neat oval or rectangle).
4) Apply the patch correctly (pressure and heat matter)
Follow the package directions, then use these best practices:
-
Iron-on patch:
- Confirm your fabric can handle heat.
- Use a pressing cloth (thin cotton) to protect the cover.
- Press firmly for the recommended time, keeping the iron steady rather than sliding it around.
-
Self-adhesive patch or tape:
- Press from the center outward to avoid bubbles.
- Apply firm pressure for at least 30 to 60 seconds.
-
Fabric glue plus backing:
- Use a thin, even layer of glue.
- Place a backing fabric behind the tear, then press the torn edges into place.
- Weight it with a book (with parchment or wax paper between) to keep it flat.
5) Let it cure, then do a gentle tug test
This is where many quick repairs fail.
- Respect the cure time on the package, even if it feels “stuck” already.
- After curing, do a gentle tug test by pulling the fabric around the patch, not the patch itself.
- If the edges lift, press again or reinforce with a slightly larger patch on the inside.
Two quick real-life examples (so you can picture the result)
The 5-minute patch for busy parents
A small 1 inch rip on the seat cover right where kids like to bounce. You remove lint, trim frays, place a self-adhesive patch on the inside, press firmly, and let it cure while you handle bedtime. Next morning, it looks smooth and feels stable, and you avoided a full replacement.
Mini case: pet-scratch snag before and after
Before: A cat snag created a tiny split with fuzzy threads on the arm.
After: You snip the fuzz, add a small backing patch on the inside, and press. The surface looks cleaner immediately, and the snag stops spreading.
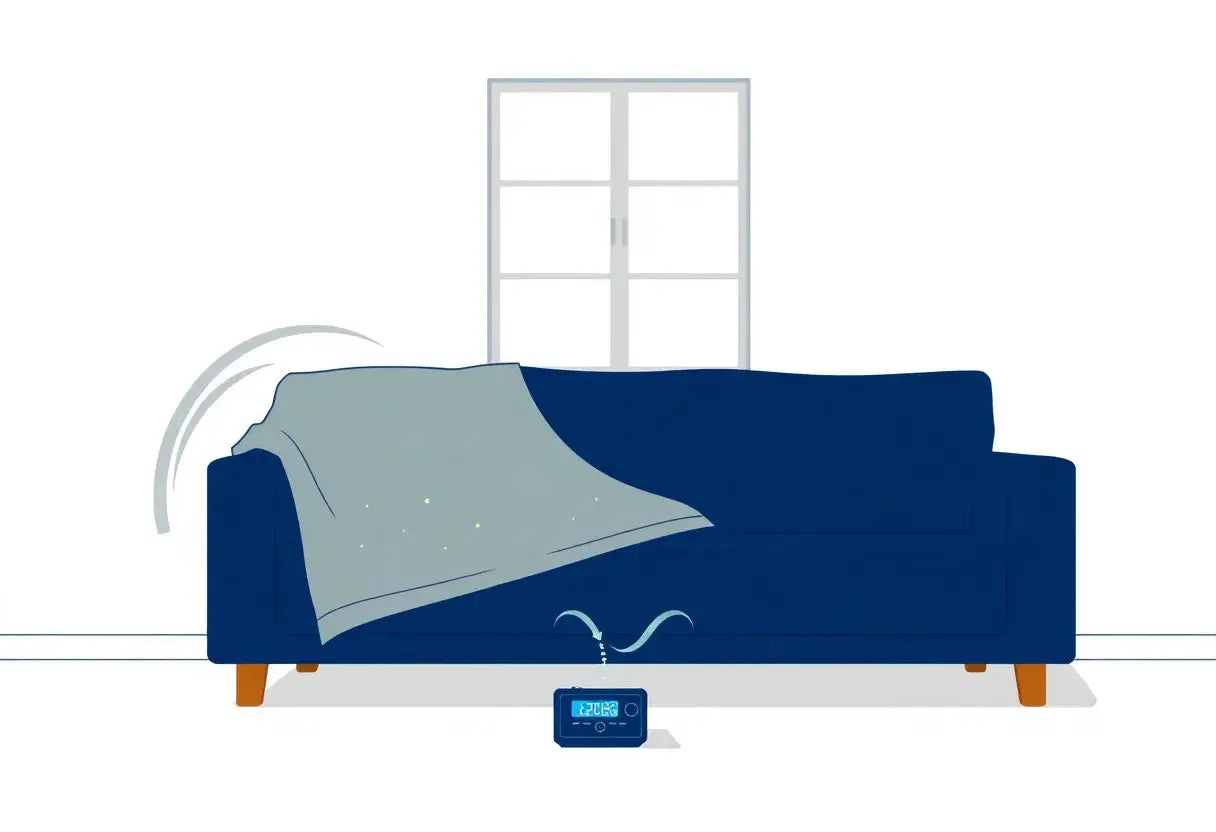
After you patch: add a washable “insurance layer”
If spills, sticky hands, or pet zoomies are part of daily life, it is smart to protect your fresh repair with an extra cover layer that is easy to wash. See options here: Add an extra washable layer for spills and pets.
Next up, if your tear sits on a seam, a high-tension edge, or keeps reopening, patching may not be enough. In the next section, we will walk through a beginner-friendly way to sew a torn cover for stronger, longer-lasting results.
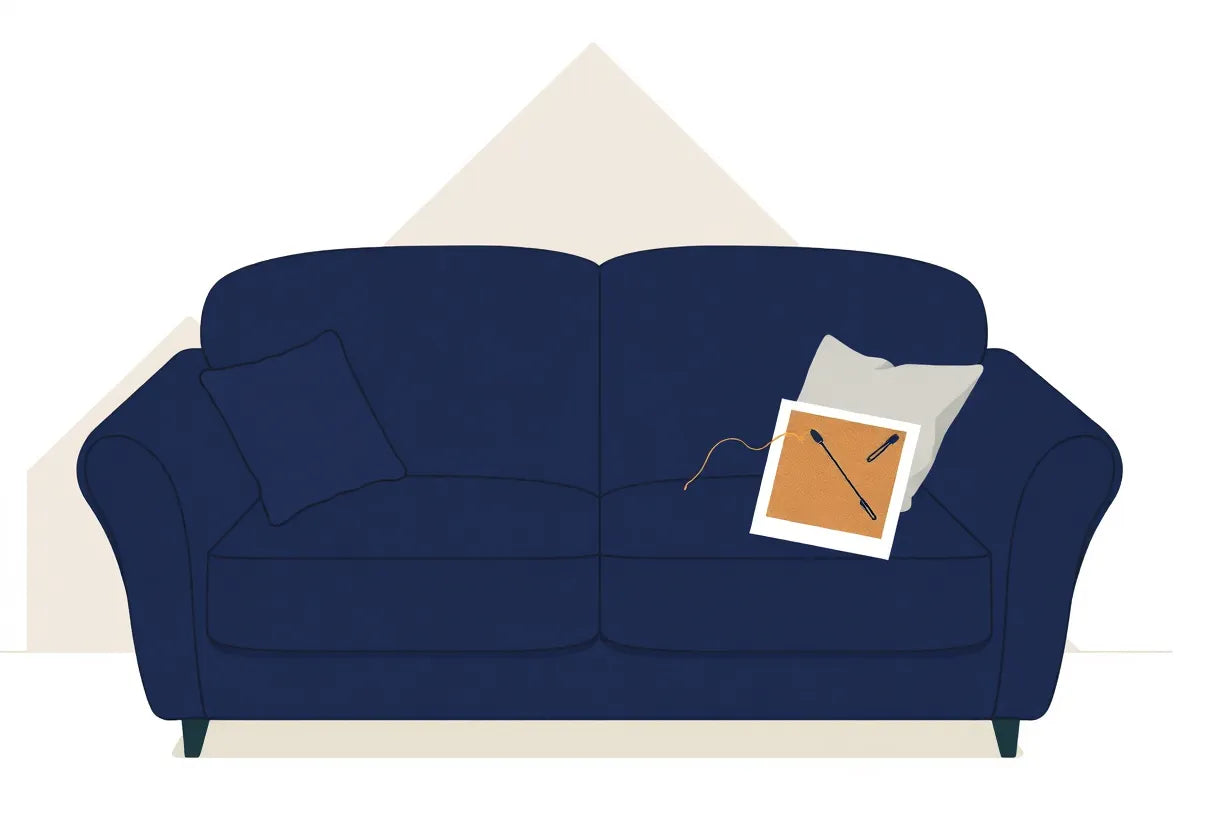
How to Sew a Torn Cover (Beginner-Friendly, Strong Results)
If you have already weighed patch vs sewing sofa cover options and your tear is in a high-stress spot (seat edge, arm front, or a seam line), sewing is often the most durable way to repair sofa cover damage. The best part: many clean, strong fixes take about 10 to 30 minutes with basic tools, even if you are a beginner.
What you will need (simple kit)
- Needle (a sharp hand-sewing needle for woven fabric; a slightly thicker needle for heavier covers)
- Thread that matches your cover in color and weight
- Small scissors
- Straight pins or fabric clips
- Optional but recommended: a small scrap of backing fabric (cotton or canvas works well)
Design tip: If you are unsure about thread, choose a slightly darker shade than the fabric. It tends to blend better in real-life lighting, especially in family rooms.
Step 1: Choose the right stitch for the tear
Picking the stitch is the difference between a repair that lasts one movie night and a repair that survives everyday life.
-
Ladder stitch (best for nearly invisible repairs)
Ideal when you want the repair to disappear, especially on small rips where you can bring the edges together neatly. -
Backstitch (best for strength)
Great for areas that take pulling and sitting pressure. If you want the strongest hand-sewn option for a fix torn couch cover moment, this is the workhorse. -
Zigzag stitch (best for fraying edges, usually by machine)
If the fabric is fraying, a zigzag along the raw edge helps stop unraveling before you close the tear. If you do not have a machine, you can still sew the tear closed by hand, but consider adding backing fabric inside for reinforcement.
If your tear is more of a split seam than a hole, jump to the seam section below.
Step 2: Thread matching that actually makes the repair blend in
A common reason sewn repairs look “obvious” is not the stitch, it is the thread.
- Match thread weight to fabric weight. Lightweight thread can snap under tension on thicker covers. Very heavy thread can look like a visible line on smoother weaves.
- Match sheen, not just color. Matte thread on matte fabric looks calmer. Shiny thread can catch the light and highlight the repair.
- If the cover has a visible weave, test a few stitches in a hidden area first. This is a quick way to see whether your thread disappears or stands out.
Step 3: Ladder stitch, simple “diagram concept” you can follow
Think of the ladder stitch as creating tiny horizontal “rungs” inside the fold of the fabric. When you pull the thread gently, the rungs tighten and the tear closes.
Ladder stitch steps (visual concept):
- Fold the torn edges inward slightly so the raw edge is tucked inside.
- Start from the inside and knot your thread so the knot is hidden.
- Take a small bite of fabric on the left side, right along the folded edge.
- Move directly across and take the same small bite on the right side.
- Repeat left, right, left, right, creating evenly spaced “rungs.”
- Every few stitches, gently pull the thread so the gap closes.
- Finish with a small knot tucked into the fabric.
Beginner-friendly spacing: aim for stitches about 3 to 6 mm apart. Smaller stitches look cleaner and usually hold up better on sofa covers.
Step 4: Reinforce high-stress zones (the secret to long-lasting results)
If the tear is on a seat edge or arm front, the fabric is under constant friction and tension. This is where sewing shines, but reinforcement is what makes it last.
- Cut a small backing patch (about 1 to 2 inches larger than the tear on all sides).
- Place it on the inside of the cover behind the tear.
- Stitch through the cover and backing together around the tear area (or stitch the tear closed first, then add a few reinforcing stitches that catch the backing).
This keeps the repaired area from stretching open again, especially if kids like to perch on the same edge every day.
Step 5: Fix seam splits the “original line plus one” way
Seam splits are one of the most common reasons people think they need to replace the whole cover. Often, you do not. You just need to resew it correctly.
- Turn the cover inside out and align the seam edges.
- Resew along the original seam line (this keeps the shape and fit consistent).
- Add a second reinforcement line just inside the seam (about 3 to 5 mm away).
This spreads the stress across two rows of stitching.
If one cushion or arm area is consistently taking the beating, it can be smarter to replace only that high-wear piece rather than constantly re-stitching. A practical option is to Replace only the parts that take the most wear, especially for armrests that see daily rubbing, pet paws, and snack-time traffic.
Common mistakes to avoid (so your repair stays elegant, not puckered)
- Pulling thread too tight: This causes puckering and can actually weaken the repair by concentrating tension.
- Skipping reinforcement: A neat seam without backing can reopen fast on high-friction areas.
- Using the wrong stitch for the job: Ladder stitch is pretty, but if the area is under heavy stress, add reinforcement or switch to a stronger stitch strategy.
- Not trimming fray safely: You do not want to widen the tear, but you also do not want loose threads continuing to unravel under your stitches.
When to skip DIY sewing and choose a pro (or replace the cover)
Sewing is a wonderful repair sofa cover solution, but a few situations are better handled professionally:
- Large rips (especially ones that keep spreading)
- Leather or leather-like materials (need specialized tools and techniques)
- Torn elastic, heavy stretch panels, or complex piping/zipper areas (a tailor or replacement cover often looks cleaner and fits better)
If you are still deciding between how to patch fabric tear areas or sew them, remember this rule: patches are quick and convenient, sewing is often stronger and more seamless-looking for stress points.
Next, we will make your repair look intentional and design-forward, so your living room feels polished again, not “patched up.”

Make the Repair Disappear (or Look Intentional): Style Tips for a French-Chic Finish
By now, you have your plan for patch vs sewing sofa cover repairs, and you have done the “make it strong” part. This section is about the “make it beautiful” part, so your repair sofa cover project looks like it was always meant to be there, even in a design-conscious living room.
Whether you used a patch kit to fix torn couch cover fabric fast or you stitched the rip for durability, the finishing details matter: placement, pressing, and how the repair relates to the rest of the sofa.
Style Route 1: The Invisible Fix (Best for minimalists and formal rooms)
If your goal is: “No one should ever notice,” this route is for you.
How to do it
- Place the patch on the inside whenever possible. For most cushion covers and many slipcovers, an interior patch is the cleanest way to support the tear without adding a visible shape on top. This is one of the simplest ways to elevate a basic “how to patch fabric tear” repair into a polished result.
-
Steam or press the area flat after the repair. A gentle press helps fibers settle and reduces the slight ridge that can give a patch away.
- If your cover is heat-sensitive, use a pressing cloth and low heat, or steam from a slight distance.
- Balance tension before you declare it “done.” After your patch or stitches cure or set, smooth the cover back onto the cushion so the repaired spot is not being pulled tight. Even a perfect repair looks obvious if it is under strain.
Quick tip: If the tear is right on a high-friction front edge (common with kids climbing up or pets launching off), an invisible repair looks best when it is also reinforced on the inside with a thin backing fabric that matches the stretch and drape.
Style Route 2: The Tonal Fix (Subtle, cozy, and very French-chic)
A tonal patch is the sweet spot between hidden and intentional. You still keep the room looking calm, but you stop fighting for “perfect invisibility.”
How to do it
- Stay in the same color family, not necessarily the exact shade. A slightly lighter or deeper tone often blends better than a “close but not quite” match.
- Choose similar texture and sheen whenever possible. Texture mismatch is what usually makes a patch stand out, even more than color.
Seasonal tonal ideas (easy wins)
- Spring: warm whites, linen beige, soft oat
- Summer: sand, dove gray, misty blue-gray
- Autumn: camel, mushroom taupe, warm stone
- Winter: charcoal, deep navy, cocoa
This approach works beautifully if you are doing a repair sofa cover update in a family space where the sofa needs to feel relaxed but still put together.
Style Route 3: The Contrast Fix (Modern accent that looks intentional)
If you cannot perfectly match the fabric, stop chasing it. A contrast patch can look elevated, especially on simple silhouettes.
How to do it
- Repeat the contrast color somewhere else in the room so it reads as styling, not damage control: a pillow stripe, a rug detail, a framed print.
- Use clean shapes and consistent placement. A neat square or soft rectangle looks deliberate. If you are patching a single arm, consider a mirrored patch on the other arm for a balanced, tailored look (especially helpful in busy family rooms or small business lounges).
This route pairs nicely with either method in the patch vs sewing sofa cover decision: a sewn repair underneath for strength, plus a well-cut contrast patch on top for design.
The Texture and Sheen Matching Checklist (the part most DIYers skip)
Use this quick checklist before you commit to a patch placement, especially if your goal is to fix torn couch cover damage without it looking “repaired.”
- Weave direction: Does the fabric have a visible grain or rib? Align the patch so the weave runs the same way.
- Stretch: Does your cover have give? If yes, choose a patch material with similar flexibility, or keep the patch smaller and reinforce with stitching to prevent puckering.
- Sheen level: Matte on matte, satin on satin. A shiny patch on a matte sofa will catch the light first.
- Thickness: A patch that is much thicker can create a raised edge that telegraphs through the cover, especially on seat cushions.
- Lint behavior: Pet owners notice this fast. If the sofa fabric is lint-magnet microfiber and the patch is a smooth cotton, it may look like a different panel even if the color matches.
Styling to “Finish the Story” (without hiding the whole sofa)
You should not have to drape a blanket over everything to hide one small repair. Instead, use soft styling to balance the visual weight of the area.
- Pillows: If the repair is on one side (like a single arm), add one pillow with a similar tone or texture on that side to create intentional asymmetry.
-
A light throw, placed with purpose: Fold it neatly over the back or along the opposite arm so it feels like décor, not camouflage.
If you want a quick refresh that still looks elegant and family-friendly, consider optional soft layering to refresh the look fast: https://frenchcovers.com/collections/throws-blankets
For premium or vintage pieces: keep it reversible when possible
If you are repairing a special cover you may want to restore later, prioritize gentle choices:
- Minimal adhesive (or adhesive only on a backing layer rather than saturating face fabric)
- Gentle pressing with a cloth barrier
- Sewing reinforcement that can be removed later without damaging the surrounding fibers
This way, your “today fix” does not become tomorrow’s permanent compromise.
Once your repair looks intentional and smooth, the next step is making sure you do not have to repeat it next month. In the next section, we will cover simple, realistic habits that help prevent the next tear in busy homes and high-traffic spaces.
Prevent the Next Tear: Simple Habits for Busy Homes and High-Traffic Spaces
Once you repair sofa cover damage, the smartest next step is making sure you do not have to choose patch vs sewing sofa cover methods again anytime soon. Most tears are not random. They come from repeat friction, shifting fabric, and tiny weak spots that quietly grow until one day you are back trying to fix torn couch cover corners before guests arrive.
Here are simple, realistic habits that protect your cover without adding more work to your week.
The 3-minute weekly routine that saves seams (and sanity)
Set a timer. This is a quick reset that spreads wear more evenly and reduces stress points.
-
Smooth and re-seat the cover (60 seconds)
Run your hands from the center of the seat outward. Pull excess fabric toward the back and sides so it is not bunching where people sit most. -
Rotate cushions and flip reversible pieces (60 seconds)
If your cover has separate cushion covers, rotate them like you would rotate a mattress. The goal is simple: stop the same spot from taking the full load every day. -
Check the “pinch points” (60 seconds)
Look and feel for strain at:- Seat front edge (where legs rub when people stand up)
- Arm front curve (high hand contact, bag straps, pet jumping zone)
- Zippers and corners (where fabric is pulled tight)
If you spot a thread beginning to loosen, a tiny reinforcement stitch or a small interior patch now is much easier than learning how to patch fabric tear damage later when the rip has spread.
Wash smarter to protect elasticity, seams, and shape
A lot of cover damage happens in the laundry. Frequent washing is normal in family homes and pet homes, but how you wash matters.
- Choose gentle cycles to reduce agitation that strains seams and stretches fibers.
- Skip high heat in the dryer. Heat can weaken elastics and make seams more brittle over time, which leads to splits that later require a full repair sofa cover session.
- Close zippers before washing so they do not snag fabric panels.
If your cover is labeled with care symbols, follow them closely. Those symbols are not just suggestions, they are a roadmap for keeping the fabric stable and less prone to tearing.
Pet-proofing that still looks like a beautiful living room
Pets do not have to mean constant repairs. Two small habits can dramatically cut snags:
- Trim nails regularly (and do not forget dewclaws). Even gentle “kneading” or jumping up can catch loops in woven fabric.
- Use a designated pet throw on their favorite spot. Choose one that looks intentional, like a textured neutral or a coordinated color that complements your decor.
This is especially helpful right after you fix torn couch cover areas, because fresh repairs are most vulnerable to repeated scratching in the same place.
Reinforce high-friction zones before they fail (kids, coworkers, and daily lounging)
Think in terms of friction, not just accidents. The most common “tear zones” form a predictable wear-map:
- Seat front edge: constant slide on and off
- Arm outer edge: hands, sleeves, bag straps, pet launches
- Back cushion lower corners: shifting, tucking, and leaning
- Seam lines: tension plus repeated stretching
For the highest-wear spots, add protection proactively:
- Seat and arm protectors for the family’s favorite seat
- Extra coverage for shared spaces like waiting rooms, lounges, and coworking sofas
Busy household tip: if one seat is always “the spot,” protect that one first. Even partial reinforcement helps you avoid repeating the patch vs sewing sofa cover decision every few months.
For everyday protection that blends into a design-conscious home, you can also layer in a fresh cover built for real life: Explore everyday protection for family living rooms.
A “high-traffic office sofa” scenario (and how to stop the repeat rip)
Imagine a lounge sofa in a coworking space. It looks fine in the morning, but by week three:
- The front seat edge starts to ripple from constant sliding
- Arm fronts show light abrasion from watch bands and laptop bags
- A seam near the zipper begins to gap
Instead of waiting for a visible tear and scrambling to repair sofa cover damage, the maintenance plan is simple:
- Weekly smoothing and re-tucking (3 minutes)
- Monthly inspection of seams, corners, and zippers (5 minutes)
- Add targeted arm and seat protection where friction is constant
This is the same approach that works in family living rooms, too. High traffic is high traffic, whether it is kids and pets or a steady stream of clients and coworkers.
Quick monthly checks that prevent big rips
Once a month, do a fast inspection with good lighting:
- Seams: look for tiny gaps or popping stitches
- Corners: check for thinning or fraying
- Zippers: make sure the tape is not separating from fabric
- Underside panels: small holes often start where fabric is tucked tightly
If you catch a weak spot early, you can reinforce it with a small interior patch or a few stitches before it becomes a full how to patch fabric tear project.
Up next: keeping the whole sofa protected, beautifully
Now that your cover is repaired and your prevention habits are in place, the next step is thinking bigger: how to protect the entire sofa in a way that matches your style and daily life. In the next section, we will pull it all together so you can choose a long-term protection plan that stays polished, cozy, and ready for whatever your home throws at it.

From a tiny tear that felt like a big deal to a fix that blends right into your living room, you now have the know how to repair sofa cover damage with confidence. Whether you decided on a fast patch for a quick save or a durable stitch for high stress spots, the key takeaway is clear: you do not need to replace your whole sofa to keep it looking beautiful. You can address the problem, reinforce the weak points, and even add a touch of French chic style while you are at it. The real win is protecting that repair (and your whole home) from the next round of daily life.
Fix the tear today, then protect your sofa before the next spill or scratch browse FrenchCovers sofa protection options now and choose the coverage level that fits your home. Your living room deserves to stay stylish and stress free, one smart choice at a time.
FAQ: Repairing a Torn Sofa Cover, the Stylish, Family Proof Way
If you are deciding between a quick patch and a longer lasting stitch, this FAQ pulls the key takeaways from our guide on repair sofa cover decisions. Use it to choose the right method for your fabric, your household, and your design standards, especially when weighing patch vs sewing sofa cover results in high traffic homes and shared spaces.
Q: Is a patch kit strong enough for a sofa cover with kids and pets? A: Yes, if the article’s “match the method to the tear” rule fits your situation: use a quality patch kit for small tears and reinforce high stress spots to fix torn couch cover damage that keeps growing. For active homes, pick a flexible patch and prep the fabric well so it bonds cleanly. See Patch Kit Basics and High Stress Areas Checklist.
Q: What stitch is best to repair a rip so it looks almost invisible? A: The guide recommends a ladder stitch for clean, nearly hidden results when you repair sofa cover rips along a straight tear or opened seam. Use matching thread and small, even bites to reduce puckering, which is the biggest giveaway. See Invisible Stitch Tutorial and Patch vs Sewing Sofa Cover Comparison.
Q: Can I patch stretchy sofa covers, or will the patch peel off? A: You can, but the article notes stretch fabric needs stretch friendly materials, otherwise the bond can lift as the cover flexes. Choose a flexible patch or fabric adhesive rated for knits, and test on an inside edge first as your how to patch fabric tear step. See Stretch Fabric Repair Tips and Surface Prep for Patches.
Q: How do I fix a seam that keeps splitting on the same spot? A: Repeating seam splits usually mean stress, not just a weak thread, so the guide suggests reinforcing the area, not only re stitching. Sew the seam with a strong backstitch, then add a small internal patch to distribute pull, a smart patch vs sewing sofa cover combo. See Reinforcing Seams and Prevent Repeat Tears.
Q: When should I stop repairing and replace the cover instead? A: The article recommends replacing when tears are widespread, fabric is thinning, or repairs start changing the fit and look, especially on premium or vintage pieces where finish matters. If you keep needing to fix torn couch cover damage in multiple spots, a fresh cover is often the more polished, durable choice. See Repair or Replace Guide and Choosing a New Protective Cover.