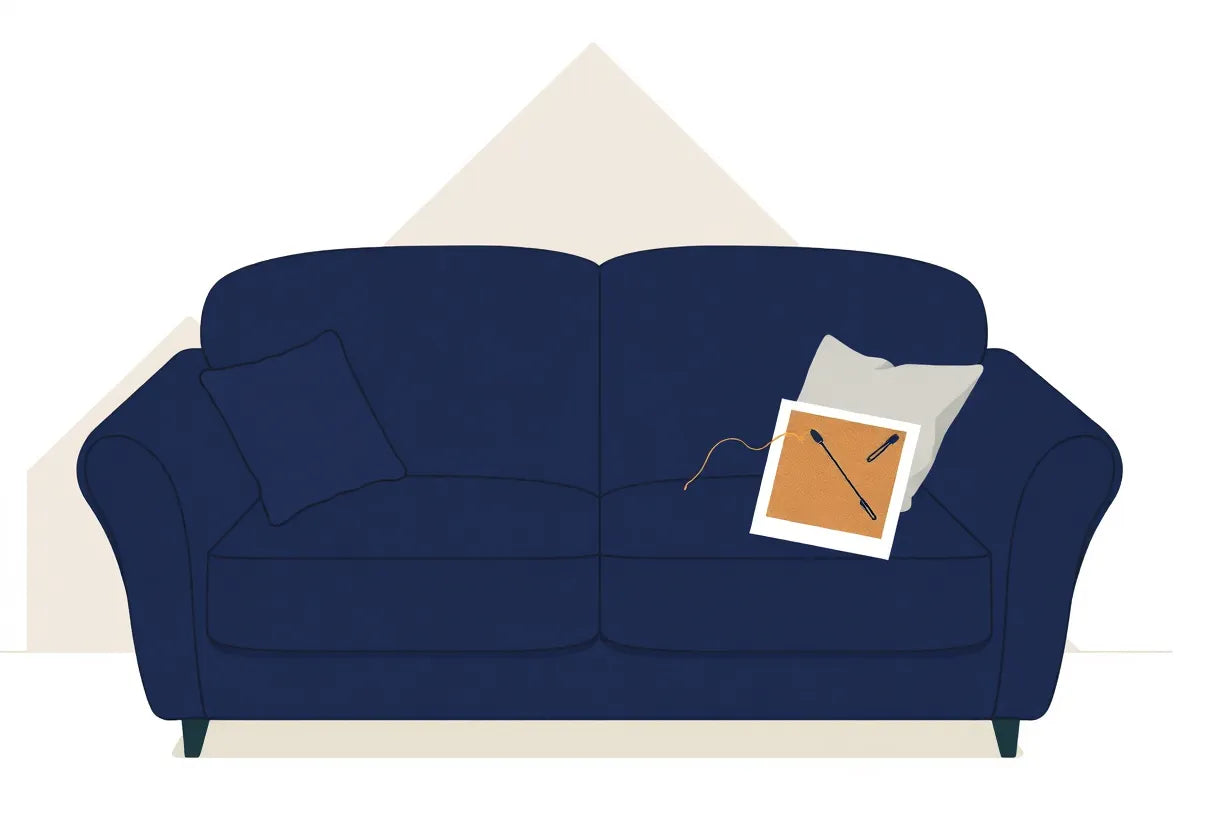
You look away for one minute and it happens. A pet claw, a sharp toy edge, or a snag from a moving box leaves a tear in your waterproof furniture cover.
If you are juggling kids, guests, or a busy shop floor, that rip can feel like a fast track to stains, smells, and stress. And if you own premium or vintage pieces, it is even worse.
The good news is you can repair a waterproof sofa cover in about 10 minutes with a simple, clean fix. In this guide, you will learn how to fix a tear in a couch cover using an easy waterproof furniture cover repair method and a neat sofa cover patch that keeps your space looking polished.
First, let’s look at the quick tool list and how to prep the area for the strongest hold.
Before You Start: Check the Tear and Choose the Right Fix
That first minute after you spot a rip is where most repairs either last… or start peeling by next weekend. Before you grab tape or a patch, take 60 seconds to “diagnose” the tear. It helps you choose the cleanest, strongest option and makes your repair waterproof sofa cover results look intentional, not improvised.
Step 1: Identify the tear type (and where it happened)
Most damage falls into one of these quick categories:
-
Pin-hole or puncture (1 to 3 mm)
Common causes: pet claws, a sharp toy corner, a pen tip in a pocket.
Best news: these are usually the fastest waterproof furniture cover repair jobs. -
Slit (straight cut, up to a few inches)
Common causes: zipper snags, a box edge, scissors or a key catching the fabric.
These need a patch with enough overlap to stop spreading. -
Split seam (thread popped along stitching)
Common causes: covers stretched too tight, repeated sitting pull, snagging at the seam line.
A patch alone may not hold. Seam solutions work better.
Now check the location, because “where” matters just as much as “what”:
- Seat front edge and seat corners: highest friction zone from sitting and sliding
- Armrests: constant rubbing plus pet jumping points
- Seams and piping: tension lines that fail when the fit is too snug
If you have kids, pets, or customers using the sofa daily, assume seat edges and corners are high-stress zones and plan a stronger fix there.
Step 2: Check the material so you do not trap leaks or cause peeling
Waterproof covers are not all built the same, and the backing determines what will stick:
-
Waterproof-coated fabric (coating on one side):
Often accepts waterproof tape and patches well, but oils and lint reduce bonding. -
Polyester with TPU backing (common “soft waterproof” style):
Flexible and comfy, but it can fight weak adhesives. Choose a patch made for waterproof fabrics, and press firmly to help it grip. -
Vinyl or PVC-style covers:
Usually need vinyl-specific repair materials for best hold. -
Laminated layers (fabric plus film):
Tears can separate layers, so you may need to reinforce from the inside and outside.
Quick check: look at the underside. If it has a smooth, slightly rubbery layer, treat it like a backing that needs a compatible patch or tape.
Step 3: Use this simple decision tree to choose the right fix
Use the smallest solution that is still strong enough for the spot.
A) Hole or slit in the fabric (not on a seam)
Choose: sofa cover patch
- Best for punctures and straight slits
- Works well when you can add overlap around the damage
B) Seam split (threads popped, fabric intact)
Choose: seam tape (or a waterproof seam repair tape)
- Designed to stabilize stitch lines
- Helps prevent the seam from opening further
C) High-stress area (seat edge, corner, armrest) OR a slit that keeps spreading
Choose: adhesive + patch
- The adhesive supports the edges
- The patch reinforces and restores water resistance
This is the most reliable approach when you need to fix tear in couch cover damage that will see daily friction.
Step 4: Set expectations (so the repair stays “family-proof”)
A well-done patch and seal can restore day-to-day waterproof performance and extend the life of your cover significantly. But keep it real:
- Heavy abrasion zones (seat front edge, corners) may still need extra reinforcement over time.
- If the cover is too tight, it will keep stressing the same spot. Fixing fit is part of making a repair last.
- If tears are happening frequently from claws or scratching, prevention helps more than repeated patches. Consider upgrading to a tougher option like Anti-Scratch Couch Covers: https://frenchcovers.com/collections/anti-scratch-couch-covers
Next, you will use the fastest no-sew method: align the edges, apply a waterproof patch, then seal the perimeter so moisture cannot creep in.

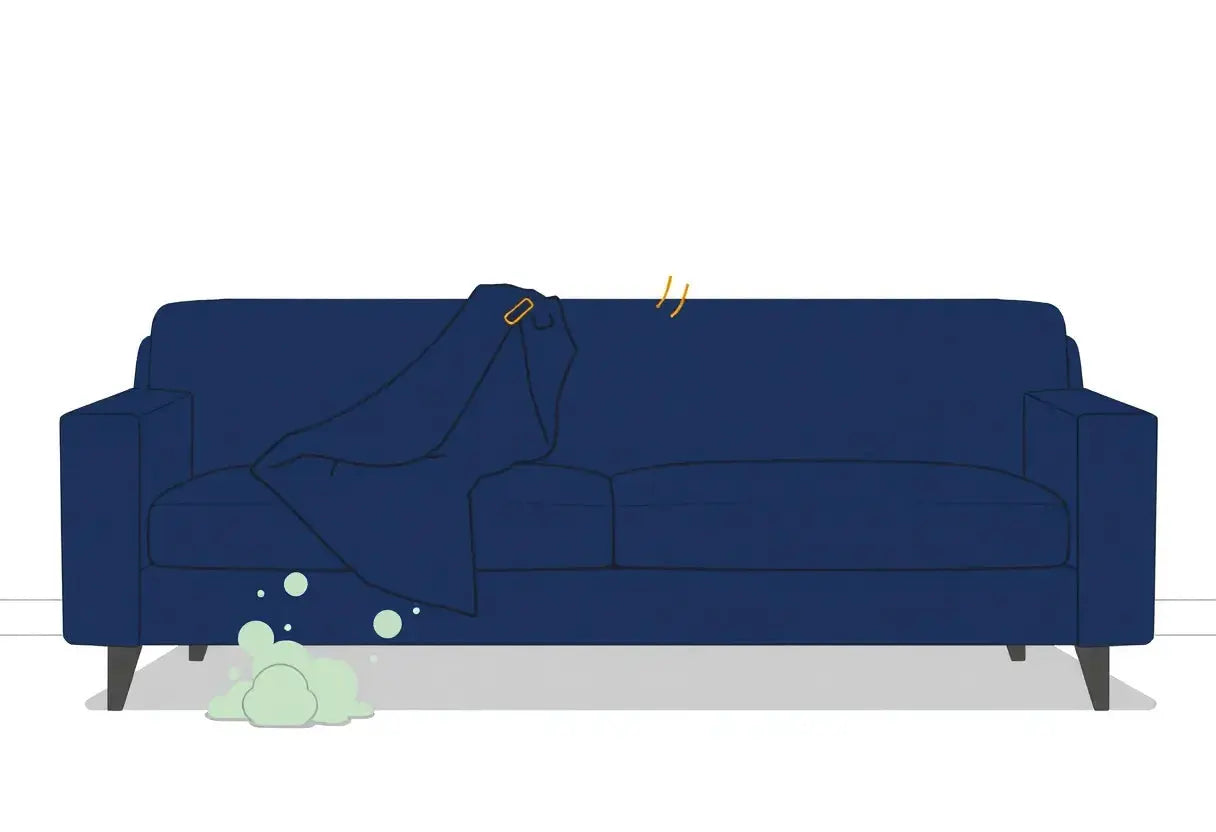
The 10-Minute Repair Method (No Sewing): Patch + Seal for Waterproof Results
If you want to repair a waterproof sofa cover fast, the goal is simple: close the tear cleanly, then rebuild the water barrier so spills bead up instead of soaking through. This patch plus seal method is the quickest way to fix a tear in a couch cover without sewing, and it stays neat enough for design-conscious living rooms and high-traffic family spaces.
Before you start, grab: mild soap, water, a clean cloth, scissors, a waterproof repair patch or waterproof fabric tape, and either clear seam sealer or extra waterproof tape for a border. (If you are due for a sturdier upgrade after this quick fix, browse Waterproof Sofa Covers: https://frenchcovers.com/collections/waterproof-sofa-covers)
Step 1 (2 minutes): Prep the area so adhesive actually sticks
Adhesives fail most often because of invisible residue, not because the patch is “bad.”
- Wipe around the tear with mild soap and water.
- Remove lint, pet hair, and any oily film (hand lotion counts).
- Dry completely. Not damp. Not slightly cool. Fully dry.
Actionable tip: Clean a wider zone than you think you need. Aim for at least a few inches past the tear so the patch has a clean bonding surface.
Step 2 (1 minute): Align the tear edges for a flatter, less visible repair
You are not trying to stretch the fabric back into place. You are trying to bring the edges together so the patch does not have to “bridge a gap.”
- Gently close the tear so the edges meet naturally.
- For a longer slit, place a small piece of tape on the inside of the cover to hold the edges together while you work on the outside.
This tiny inside “helper” piece makes your waterproof furniture cover repair look smoother and prevents the slit from widening while you press.
Step 3 (3 minutes): Patch with rounded corners (the peel-prevention trick)
This is where your sofa cover patch does the heavy lifting.
Patch sizing rule of thumb: choose a patch that extends beyond the tear on all sides. More overlap equals more grip and less edge lifting later. If you are cutting tape or a patch from a larger sheet, round the corners with scissors. Sharp corners catch on hands, paws, and vacuum brushes and start peeling first.
- Cut your patch so it overlaps the tear on every side.
- Round every corner.
- Apply the patch, then press firmly from the center outward to push out air and lock down the edges.
- Keep pressure steady for 30 to 60 seconds.
Two quick scenarios:
- Pet claw puncture (small hole): a small rounded patch with good overlap is usually enough, since the fabric is not pulling apart.
- 2-inch slit: align edges carefully first, then use a larger patch so the overlap area has enough “grab” to resist daily sitting and shifting.
Step 4 (2 minutes): Seal the perimeter for waterproof results
A patch can hold the fabric, but sealing the perimeter is what helps stop sneaky leaks at the edges.
Pick one:
- Clear waterproof seam sealer: apply a thin bead around the patch edge (a narrow outline is enough). Smooth it gently so it sits flat.
- Waterproof tape border: run a slim border of waterproof tape around the patch edge, like a frame, to reduce edge lifting.
This seal step is the difference between “patched” and truly “water-resistant again,” especially for spills that sit on the surface for a few minutes.
Step 5 (2 minutes now, optional wait later): Press, then cure before heavy use
- Press the patch firmly again, especially along the edges.
- If you used liquid seam sealer, follow the label for cure time before heavy use or washing.
Practical guidance: You can usually put the cover back on the sofa once it feels secure, but treat it gently until fully cured. Think of it like nail polish: it may feel dry before it is fully set.
Once your patch is on and sealed, you are close, but there is one more thing that decides how long it lasts: avoiding the common habits that make patches peel early. Next, we will cover the 5 most frequent mistakes and the quick fixes that keep your repair looking clean and holding strong.
Make It Hold: 5 Mistakes That Cause Patches to Peel (and How to Avoid Them)
You already did the hard part: you learned the quick patch and seal method to repair a waterproof sofa cover fast. If patches fail, it is usually not the patch itself. It is one of these five fixable mistakes. Use this checklist to keep your waterproof furniture cover repair smooth, neat, and actually waterproof.
1) Skipping cleaning and full drying
What goes wrong: Adhesives hate residue. Skin oils, crumbs, lint, and especially leftover fabric softener can create a slick film that weakens the bond. Any trapped moisture can also cause bubbling and edge lift.
Do this instead (2 minute reset):
- Wash the area with mild soap and water.
- Rinse with a clean damp cloth.
- Dry completely, then dry again. Use a cool hair dryer if you are in a hurry.
Quick test (press test): After applying your sofa cover patch, press hard for 30 seconds. If you feel the patch slide even slightly, stop and re clean. A good bond feels planted, not slippery.
2) Using sharp corner patches (the fastest way to invite peeling)
What goes wrong: Square corners are little “catch points.” They snag when someone sits down, when the cover flexes, or when you pull it back into place after cleaning. That corner lifts, then the whole edge follows.
Do this instead:
- Always round the corners of your patch before sticking it down. Even a simple coin trace works.
- If you are using tape, trim it into an oval or rounded rectangle.
Quick test (edge lift check): Run your fingertip around the patch perimeter. If any corner feels like it wants to curl, round it more, press again, and add a thin seal around the edge if needed.
3) Patching only the outside (high tension areas need backup)
What goes wrong: Seat fronts, corners, and arm areas flex constantly. If you only patch the outside, the tear can keep pulling from behind, especially when kids climb up or pets jump down.
Do this instead (simple reinforcement):
- Add a small inside patch first (or a strip of waterproof tape inside) to act like a “backer.”
- Then apply the outside patch on top as your clean finish layer.
This is the easiest upgrade if you are trying to fix tear in couch cover spots that get tugged every day.
Where reinforcement matters most: armrests, seat front edge, and cushion corners. If those are your problem zones, consider adding purpose fit protection like Armrest and Cushion Covers: https://frenchcovers.com/collections/armrest-cushion-covers
4) Washing too soon (heat and agitation can undo a fresh bond)
What goes wrong: Most adhesives need time to fully cure. Early washing adds water, friction, and heat that can soften glue and lift edges.
Do this instead:
- Wait for full cure before washing (check your patch or sealer label).
- For your first wash after a repair, choose cool water and gentle cycle.
- Avoid high heat drying if the care label allows alternatives.
If you want a quick refresher on laundry symbols so you do not accidentally add heat too soon, this guide is helpful: https://www.cleaninginstitute.org/cleaning-tips/clothes/laundry-symbols-guide
Quick rule of thumb: If the patch still smells like adhesive or sealer, it probably is not fully cured.
5) Ignoring stress points (a too tight cover will keep tearing)
What goes wrong: If your cover is stretched like a drum, the tear is not just damage. It is a sign the fabric is under constant tension. Even the best repair waterproof sofa cover method will struggle if the cover keeps getting pulled at the same spot.
Do this instead (fix the fit first):
- Reposition the cover so the seam lines sit where they should (not twisted onto the seat).
- Add foam tucking rods or non slip grippers to reduce shifting.
- If the cover is undersized, loosen the straps if possible or consider a better fitting replacement style for that sofa shape.
Quick test (water bead test): After your patch is cured, drip a few drops of water on top. If the water beads and rolls off, your seal is working. If it darkens or seeps at the edge, add a perimeter seal and check for tension that is pulling the patch open.
If your patch is holding but you are seeing repeated tears, cracking backing, or multiple weak spots, it may be time to step back and decide whether repair is still the smartest option. Next, we will walk through a simple repair vs. replace guide based on time, cost, and where the tear is happening.

When to Repair vs. Replace: A Simple Cost-and-Time Guide
A rip does not automatically mean you need a whole new cover. In many homes, the fastest path back to calm is to repair the waterproof sofa cover today, then decide later if you want to upgrade.
Use this quick guide to choose confidently, especially if you are trying to fix a tear in a couch cover between school pickup, guests, or a busy workspace shift.
Repair is best when a quick patch will actually hold
A simple patch and seal works well when the cover still has good “life” in it.
Choose a waterproof furniture cover repair if:
-
The tear is small to medium (think pinholes, claw punctures, or a slit that is not spreading).
Practical rule: if you can cover the damage with a patch that extends at least 1 inch past the tear on every side, it is usually a good repair candidate. - The fabric still feels elastic and strong, not brittle or thinning at the seat edge.
- The waterproof backing is intact (no flaking, cracking, or peeling on the inside layer).
- The fit is still correct. If the cover is stretched too tight, repairs keep failing because the fabric is under constant tension.
Time and effort reality check:
- Patch + seal method: about 10 minutes of hands-on time (plus any label cure time if you use liquid sealer).
- Hand-sewing or seam rebuilding: often 30 to 60 minutes and may still leak if the needle holes are not sealed.
If your goal is fast protection that looks neat, a well-trimmed sofa cover patch is usually the sweet spot.
Replace is best when repairs will look bulky or keep reopening
Sometimes patching is technically possible, but it becomes a cycle. Consider replacing the cover when:
- You have multiple tears across different areas (seat front edge, both arms, corners).
- The waterproof layer is cracking or feels like it is “shedding” on the inside. Once that barrier breaks down, new leaks appear quickly.
- Seams are failing in several places, especially on high-stress corners. You can tape one seam, but if multiple seams are going, the structure is worn out.
- A patch would create a rough or bulky spot right where people sit or where pets rub. That can cause faster edge lifting and a less polished look.
If you are already on your second or third repair in the same zone, replacement can be the more comfortable and better-looking choice long term. If you are shopping again soon, it can help to compare options like these Waterproof Sofa Covers: https://frenchcovers.com/collections/waterproof-sofa-covers
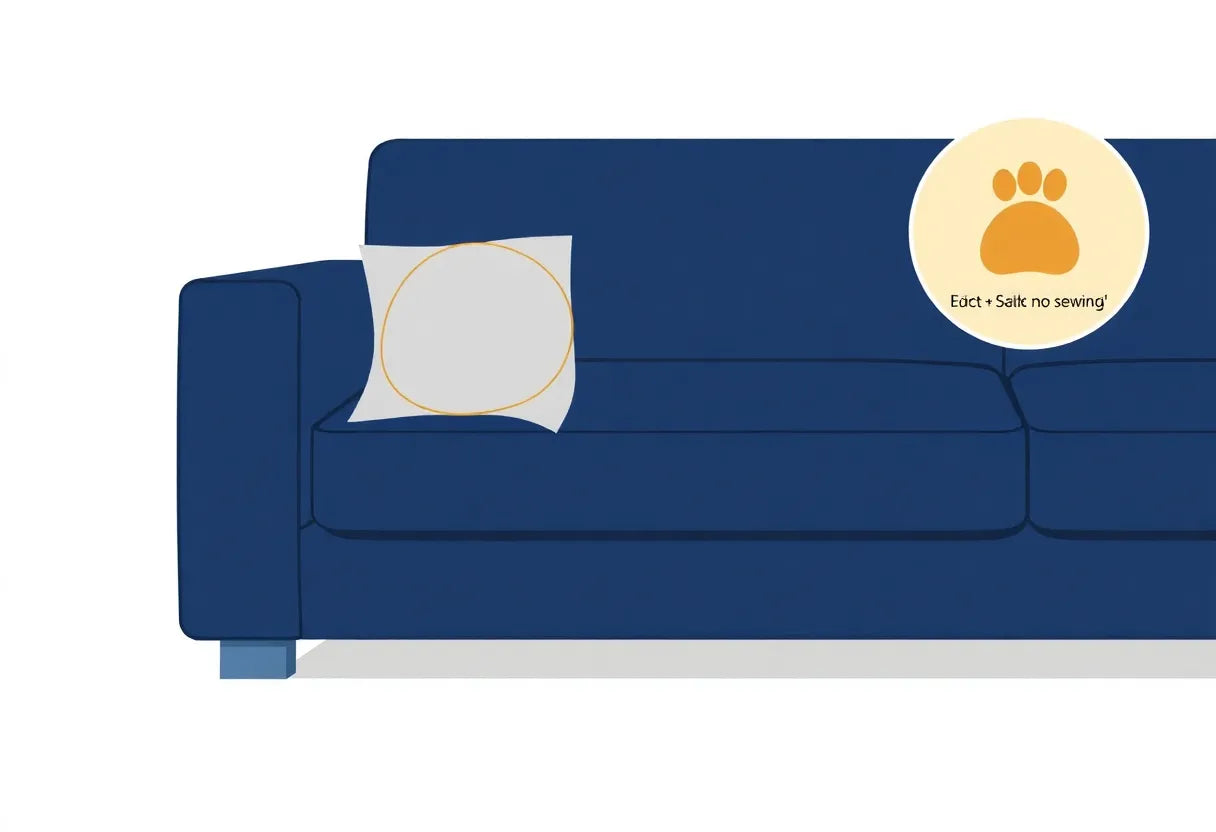
If pets caused the tear: repair fast, then prevent the next one
Pet homes are repair-heavy homes, and that is normal. If claws or digging are the reason you need to fix a tear in a couch cover, pair your repair with one simple prevention step so the new patch lasts:
- Trim nails regularly (even a small trim reduces snagging).
- Add a washable throw to the pet’s favorite spot to reduce abrasion.
- Choose anti-scratch solutions for repeat offenders, especially on armrests and seat edges.
For more ideas built for real pet routines, see Pet Furniture Protection: https://frenchcovers.com/collections/pet-furniture-protection
For premium or vintage furniture: keep the repair gentle and non-staining
If the cover protects a lighter fabric, a vintage piece, or a premium leather sofa, treat the repair like you would any fine material: careful, clean, and low-risk.
- Use non-staining adhesives and clear patches whenever possible. Avoid anything that smells strongly of solvent near delicate upholstery.
- Clean gently before patching. Mild soap and water is usually enough. Harsh cleaners can leave residue that affects bonding and may transfer.
- Test first in a hidden spot (inside hem or underside) to confirm there is no color shift or tacky feel.
This way, you can repair waterproof sofa cover damage without introducing new issues like discoloration or adhesive transfer.
Once you decide to repair or replace, the next step is making sure the fix looks intentional, not like a quick bandage. Up next: how to blend your patch into your décor so your sofa stays protected and still feels beautifully “put together.”
Keep It Looking Good: Blending the Repair Into Your Décor
A fast patch job is great, but you also want your living room to feel calm, clean, and pulled together. The good news: when you repair waterproof sofa cover damage with the right patch choice and placement, most people will not notice it unless you point it out. Below are simple, design-conscious tricks that help your fix tear in couch cover moment stay functional and look intentional.
1) Pick a patch color that disappears (or looks deliberately minimal)
Option A: Tone-on-tone (the “where is it?” repair).
Match the patch as closely as you can to the cover color and finish. If your cover is matte, choose a matte patch. If it has a slight sheen, a satin finish blends better. This is especially effective on neutrals like beige, gray, taupe, and charcoal.
Option B: Clear or neutral (the clean, modern fix).
If you cannot color match, go clear or a soft neutral (think light gray or warm beige). Clear patches can read almost invisible from a few steps back, especially on solid colors.
Mini how-to for a cleaner look:
- Trim your sofa cover patch into an oval or rounded rectangle (rounded corners resist peeling and look more “finished”).
- Size it so it extends at least 1 inch past the tear on all sides for a smoother visual edge and better hold.
2) Place the repair where the eye already expects “lines”
If you have any flexibility (for example, the tear is near a seam or edge), position the patch so it aligns with existing design structure:
- Along seams, piping, or hem lines: the patch reads like part of the construction.
- Near the back edge or under an arm drape area: less direct attention than the seat center.
- Parallel to the fabric grain: looks straighter and more intentional.
This small placement trick helps a waterproof furniture cover repair blend in, especially in high-traffic family rooms where you want “neat and done” instead of “temporary fix.”
3) Use a throw or cushion as a style layer (not a cover-up)
If the tear happened in a high-wear zone (seat front edge, armrest corner), you can protect the repair and elevate the room with one simple layer.
A “French-chic” layered look, simplified:
- Add a light throw folded lengthwise and placed over the seat or arm where life happens most (pets, snacks, story time).
- Add one or two cushions in a complementary tone to make the layering feel intentional.
You are not hiding the whole sofa. You are just giving the repaired area a softer, styled buffer so your patch lasts longer and looks more curated.
Internal style helper: Throws and Blankets
https://frenchcovers.com/collections/throws-blankets
4) Quick room checklist: make the fix look like it belongs
Use this 60-second checklist after you fix tear in couch cover spots:
- Patch edges pressed flat and smooth (no visible lifting).
- Patch shape rounded, not sharp-cornered.
- Patch aligned with a seam or straight line when possible.
- One coordinating textile nearby (throw or cushion) to “tie it in.”
- Step back 6 feet and check: if your eye goes to the patch first, adjust placement or add a simple layer.
5) Plan a seasonal refresh (your repaired cover becomes the smart backup)
A patched cover does not have to be the “forever” version. For many families and pet homes, the best system is rotation:
- Keep the repaired cover as your backup for messy weekends, parties, or rainy-season paws.
- Rotate in a fresher look when you want a change, without rushing into a replacement.
This mindset also takes the pressure off the repair. Your repair waterproof sofa cover fix did its job: it protected the sofa fast, bought you time, and kept your space looking polished.
Next up, we will connect style with practicality: how to keep the repair performing well with simple care habits, so your patch stays sealed and water resistant for the long run.

You’ve just proven that a small tear doesn’t have to mean a ruined sofa or a stressful weekend. By diagnosing the damage, applying a clean sofa cover patch, and sealing the perimeter, you can restore your waterproof furniture cover repair in just 10 minutes and keep your space looking polished. Whether you fixed a pet claw puncture or a daily wear slit, you now have a practical solution that protects your furniture and your peace of mind. Remember, a quick fix buys you time, but for ongoing protection against kids, pets, and real life, a stronger foundation matters. Need a stronger, longer-term solution for kids, pets, and daily mess? Upgrade your protection today choose a cover built for real life and keep your sofa safe this week, not “someday.” Because a home that’s lived in should also be a home that’s loved protected.
Quick FAQs: Fast, No Sew Fixes for Waterproof Sofa Cover Tears
Life happens fast in family homes and pet friendly spaces, so this guide keeps it simple: clean the area, apply a waterproof repair tape or sofa cover patch, press firmly, and get back to living in about 10 minutes. Below are the most common questions we hear about how to repair a waterproof sofa cover and fix a tear in a couch cover without sacrificing a clean, design conscious look.
Q: What is the best way to fix a tear in a waterproof sofa cover without sewing?
A: Follow the article’s 10 minute method: clean and fully dry the area, then use waterproof repair tape or a sofa cover patch with firm pressure for a strong seal. This is the quickest way to repair a waterproof sofa cover without needles and thread. See the steps in 10 Minute Fix Method and Recommended Patch Materials.
Q: Will a patch make my cover waterproof again, or will it still leak?
A: A proper waterproof furniture cover repair can restore water resistance if you patch on a clean, dry surface and seal the edges well, just like the article explains. For best results, overlap the tear and press firmly so water cannot sneak under the patch. Review Seal the Edges for Leak Protection and Patch Placement Tips.
Q: Can I wash a waterproof cover after I patch it?
A: Yes, but give the adhesive time to set first, then wash gently as the article recommends to protect the bond and keep the repair waterproof sofa cover fix intact. Avoid high heat and harsh cycles that can lift a patch over time. See Aftercare and Washing Tips and What to Avoid After Patching.
Q: What if the tear is on a seam or a high-stress corner?
A: The article notes these spots need reinforcement: use a larger sofa cover patch, round the patch corners, and consider patching both sides if possible to prevent re tearing. If the seam is separating, patch beyond the seam line so the stress spreads out. See High Stress Areas and Seam Repairs and Reinforcement Tricks.
Q: How do I stop my pet from tearing my couch cover again?
A: Start with the article’s prevention basics: trim nails, add a cozy pet spot, and keep the cover snug so it does not bunch and tempt scratching. For extra protection, keep a small patch kit on hand so you can quickly fix a tear in a couch cover before it grows. See Pet Proofing and Prevention and Quick Patch Kit Checklist.