A ripped sofa cover always seems to happen at the worst time. One minute your living room looks pulled together, and the next there is a tear from a pet claw or a zipper that will not budge.
If you are juggling kids, guests, or a busy workspace, replacing the cover can feel pricey and stressful. It is even harder when the piece is premium or vintage and you want a clean, careful fix.
In this guide, you will learn a fast sofa cover repair you can do in about 10 minutes, using a fabric patch kit for upholstery and a simple zipper repair for couch cover. You will also get tips to fix a torn couch cover so it looks neat and lasts.
First, let’s look at the quickest way to patch a tear without making it worse.
Diagnose the Damage in 60 Seconds (So You Don’t Waste Time)
Before you grab a patch or start tugging on a stuck zip, take one minute to diagnose what actually failed. This quick check saves time, prevents bigger tears, and helps your sofa cover repair look tidy enough for real life, even in a home with kids, pets, or constant company.
1) Identify the cover material (your fix depends on it)
Different fabrics react very differently to patches, heat, and tension. Do this fast test: gently stretch the fabric near the damage and look at the weave.
-
Stretch spandex blends (stretchy, smooth, “snaps back”)
Best approach: flexible patching and light reinforcement so it does not peel when the cover stretches back over cushions. -
Woven polyester or poly cotton (less stretch, visible weave)
Best approach: patching works well; seam tape or a simple stitch can hold long splits. -
Thicker upholstery style covers (heavier, structured, sometimes textured)
Best approach: reinforcement first, then patch or stitch so the repair does not create a stiff, raised spot on a premium or vintage looking piece.
If you are unsure, assume it is more delicate than it looks, especially on premium or vintage furniture. Your goal is to stabilize the damage without stressing surrounding fabric.
2) Pinpoint what failed (panel, seam, snag, or zipper)
Most “sudden” cover problems fall into a few predictable categories:
-
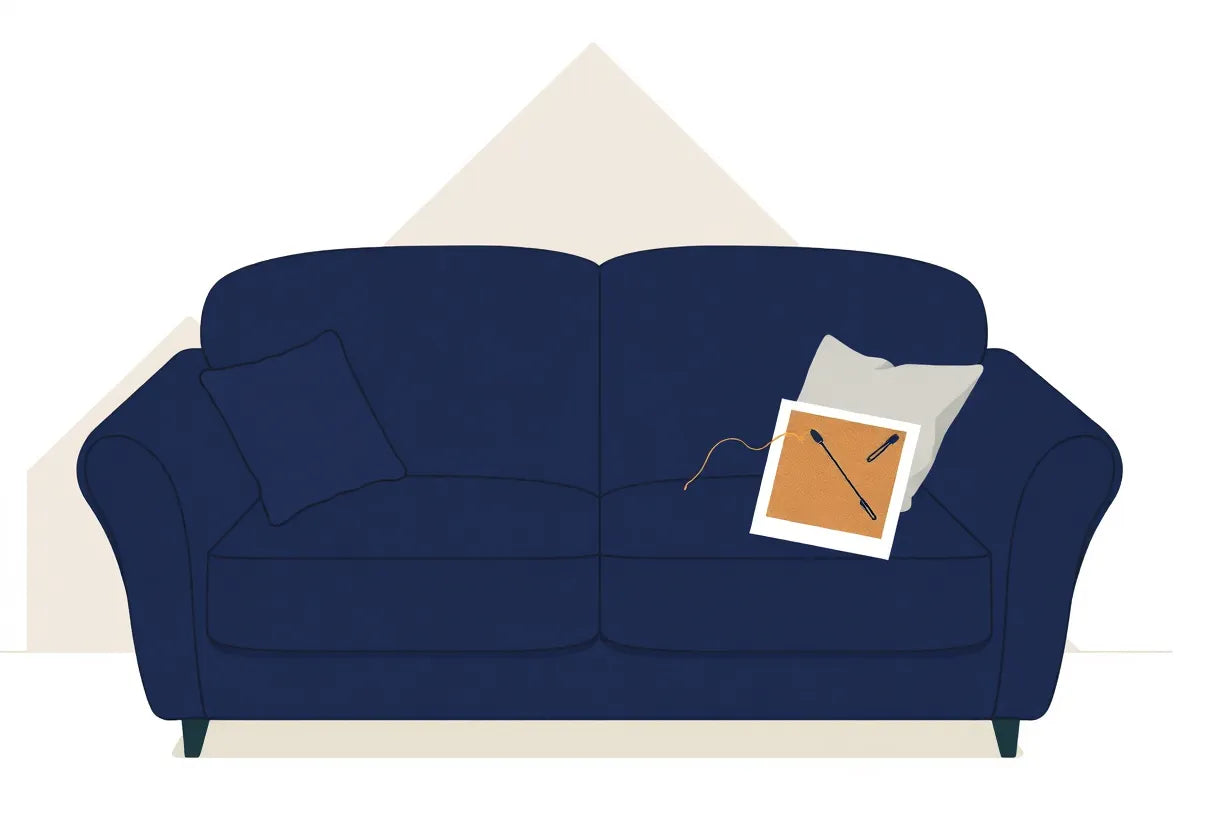
Tear in the fabric panel (often from pet claws, sharp toys, or snagging on a belt buckle)
You will usually see frayed threads or a clean rip line. -
Seam split (thread breaks but fabric is mostly intact)
Common after repeated stretching over cushions or after washing and drying. -
Small burn, snag, or pulled thread
Often from a hot styling tool, candle, rough play, or a cat claw catch. These usually look small but can ladder quickly. -
Zipper issues (this is where a lot of people lose time)
- Slider off track
- Teeth damaged or missing
- Zipper pull broken
- Zipper separating after you zip (often a worn slider problem)
This is also where you decide whether you need a zipper repair for couch cover or a fabric fix.
3) Decide: patch job or reinforcement job
Use this simple rule so you do not overcomplicate it:
-
Small holes and short tears (think: claw tear near the seat edge, tiny snag on an arm)
Choose a patch job using a fabric patch kit for upholstery. This is the fastest way to fix torn couch cover damage without taking the cover apart. -
Long seam splits or stress tears (especially along cushion lines or edges)
Choose reinforcement first: stitch, seam tape, or iron on reinforcement, then patch if needed. If you only patch, it often reopens the first time someone sits down. -
Zipper problems (stuck, separating, slider off, missing stop)
Choose a zipper check first. Forcing it usually causes extra tearing right at the zipper tape, which is one of the most common high stress zones.
Quick high traffic clue: damage often appears at seat edges, armrests, and zipper ends, because that is where hands pull, paws climb, and fabric stays under constant tension.
If you are seeing repeat wear on arms, it may be time to protect those zones, not just repair them. Internal link: Armrest hot spots: protect high-wear areas with dedicated covers
4) Set a “good enough” goal (so you actually finish)
For a busy household or shared space, a successful repair is usually:
- Functional: it holds through sitting, stretching, and washing
- Tidy: not flashy from across the room
- Not necessarily invisible up close
That mindset helps you move quickly and make smart choices, especially when the sofa is in daily use.
Next up, we will go hands on with the fastest fix: a 10 minute patch method (no sew and quick stitch options) that works for most tears and holes.

10-Minute Patch Fix (No Sewing vs. Quick Stitch) for Tears and Holes
When you need a sofa cover repair that looks tidy fast, a patch is usually the quickest win, especially for small tears, pinholes, and claw snags that have not turned into a full seam blowout yet. Below are two reliable options: a true no-sew fix for speed, and a quick stitch reinforcement for covers that stretch or get pulled on daily.
What you need (2 minutes to gather)
Keep this small kit together and you can fix a torn couch cover the moment you spot it:
- Fabric patch kit for upholstery (choose one)
- Self-adhesive patch: fastest and no heat required
- Iron-on patch: strong hold on stable woven fabrics (follow the patch brand’s heat and time instructions)
- Flexible stretch patch: best for spandex or stretch-blend slipcovers
- Small scissors (sharp enough to trim cleanly)
- Lint roller
- Rubbing alcohol or mild soap and water (for cleaning)
- Clean cloth or paper towel (to dry)
- Optional for reinforcement: needle + matching thread
Example damage this works well for:
- A 1-inch claw tear near the seat edge (high stress zone)
- A small snag on the arm
- A seam split along a cushion line (you may patch plus stitch, or plan a reinforcement in the next section if it is long)
Option A: Fastest no-sew patch (about 10 minutes total)
This is the best choice when you need an immediate, presentable fix before guests arrive or before kids and pets make the tear bigger.
-
Remove the cover if you can.
Patching is cleaner when the fabric is flat and not under tension. -
Clean and dry the area.
Use a lint roller first, then wipe gently with rubbing alcohol or mild soapy water. Let it fully dry. Adhesives fail most often because of lint, body oils, and fabric softener residue. -
Trim frayed threads, but do not enlarge the hole.
Snip fuzzy edges so they cannot wick stress into the tear. -
Cut a patch that is bigger than the damage.
Aim for at least 0.5 inch of coverage past the tear on all sides. Then round the patch corners. Rounded corners resist peeling better than sharp squares. -
Apply from the inside when possible.
If the tear is small and the cover has an inner face, placing the patch on the inside keeps the outside looking smooth and discreet, which is especially important on premium or vintage pieces. -
Press firmly, then let it set before stretching.
Smooth from the center outward. Hold pressure for the time recommended by your patch manufacturer. Then wait a few minutes more before you pull the cover back on, because stretching too soon is what causes edge lift.
Practical tip for a seat-edge claw tear: patch from the inside and add a second patch layer (like a “bandage”) if the area is a frequent sit zone. It spreads load so the tear does not re-open.
Option B: Stronger quick stitch (best for stretch covers)
If your slipcover is a stretchy knit or gets tugged tight around cushions, a patch alone can lift over time. This option still stays beginner-friendly and fast.
-
Use a flexible patch (or your stick-on patch) on the inside first.
Same prep steps as above: clean, dry, trim, round corners, apply flat. -
Add a few wide loop stitches around the patch edge.
You are not sewing the tear closed perfectly. You are anchoring the patch so it cannot peel when the cover stretches. Use matching thread and make wide, relaxed loops every 0.25 to 0.5 inch around the edge. -
Do a gentle stretch test.
Lightly tug the fabric in the direction it normally stretches when installed. If the patch edge starts to lift, add a few more loops at that side.
This reinforced method is one of the most dependable ways to fix torn couch cover fabric on snug-fit, elastic styles because it handles movement instead of fighting it.
If you want a visual refresher for basic hand stitching, a simple reference like “How to hand-stitch a basic seam repair (visual reference)” can be helpful.
How to blend the look (so it feels intentional, not patched)
A repair can be both practical and attractive, even in a well-styled living room.
- Match texture first, then color. A patch with a similar weave or knit usually disappears better than a perfect color match with the wrong texture.
- Hide it when you can. For small tears, inside placement keeps the outside looking nearly unchanged.
- If it must be visible, make it a design detail. Symmetry works beautifully: if you patch one arm, consider a matching patch on the other arm or repeat the detail in a balanced spot. It reads intentional, not accidental.
- For elegant fabrics (premium or vintage): avoid rushing with high heat. If you use an iron-on patch, follow the patch brand’s temperature and timing exactly, and consider testing on an unseen area first.
If the tear came from claws, prevent the next one
A perfect patch will still struggle if pets keep targeting the same spot. If the damage is claw-related, consider prevention-first protection with a tougher outer layer: prevention-first protection.
Next up, if your issue is not a hole but hardware that will not cooperate, we will move to the other fast fix: zipper repair for couch cover, including a stuck zipper, a slider that came off, and that frustrating “it zips but keeps splitting open” problem.
10-Minute Zipper Repair: Slider, Track, and Quick Re-Attach Steps
If your patch from the last section helped you fix torn couch cover fabric, but the cover still will not sit right or close cleanly, the zipper is usually the next bottleneck. The good news: most zipper repair for couch cover problems are not “broken zipper” problems. They are “dirty track,” “fabric caught,” or “worn slider” problems and those are often fixable fast.
Zippers also tend to act up after repeated washing and drying because heat, tumbling, and twisting can stress the tape and slightly misalign the teeth. Add pet hair and lint (especially in homes with dogs and cats), and a jam is almost inevitable. (For general zipper care guidance, see YKK zipper care and troubleshooting tips.)
Below is a simple troubleshooting flow you can follow in real time. Start at Step 1 and stop when your zipper is moving smoothly again.
Step 1 (1 minute): If the zipper is stuck, clear the track first
A stuck zipper is the moment people force it and make a small issue into a full replacement. Instead:
- Remove lint and pet hair: Use a lint roller, tweezers, or a piece of tape to pull fuzz out of the teeth on both sides, especially near the ends where buildup collects.
- Check for fabric caught in the teeth: Look closely at the inside edge of the cover. If you see fabric pinched, gently back the slider up a few millimeters to release it.
- Do not force it: If it resists, stop and clear more debris. Forcing can bend teeth or tear the zipper tape, which turns a quick sofa cover repair into a bigger project.
Quick tip for busy homes: If you just patched a nearby tear with a fabric patch kit for upholstery, make sure no patch edge or adhesive is creeping into the zipper path.
Step 2 (2 minutes): If it zips but separates behind the slider, the slider is likely the culprit
This is the classic “it looks zipped, then it opens right back up” situation. Usually, the teeth are fine but the slider is slightly worn and not pressing both sides together tightly anymore.
Try this temporary fix:
- Unzip fully.
- Re-feed both sides evenly into the slider so the left and right zipper tapes enter at the same depth.
- Zip slowly for a few inches while keeping light tension on both sides.
If it still separates:
- Use pliers very carefully to tighten the slider a tiny amount. You are aiming for a subtle squeeze, not a crush.
- Test again. If it improves, stop there. Over-tightening can make the zipper jam.
This is often enough to get you through the week and keep the cover looking neat for guests, kids, or a client-facing space.
Step 3 (3 minutes): If the slider came off, re-track it (slow and steady)
When the slider comes off one end, it looks dramatic, but it is usually one of the fastest fixes.
- Align both zipper tapes so the teeth face the correct direction.
- Feed both sides into the slider evenly. This is the key. If one side goes in deeper than the other, it will re-separate.
- Pull slowly while guiding the teeth together with your fingers.
If the zipper end is frayed and hard to feed:
- Wrap the end with a tiny bit of tape temporarily to stiffen it, then remove the tape once the slider is back on track.
Step 4 (2 minutes): If a top or bottom stop is missing, add a quick stopper
Without a stopper, the slider can run right off again. For a fast home fix:
- Thread a needle and make a few tight stitches across the zipper tape at the end where the stop is missing (like a little thread “barrier”).
- Keep stitches snug and close together to create a reliable block.
If you prefer hardware:
- A small zipper stop kit works well, but the stitched stopper is usually enough for a sofa cover that gets frequent on and off use.
Step 5 (2 minutes): Decide if it is time to replace the zipper or the cover
Some zipper problems are not worth fighting, especially when you need a dependable, kid-proof, pet-proof closure.
It is usually time to stop troubleshooting and replace (or add protection) if:
- Teeth are missing
- Zipper tape is torn
- The track is badly warped and will not align even after cleaning and re-feeding
In those cases, it is often faster to replace the cover or add a protective layer that reduces wash frequency and daily stress on the zipper. For families dealing with spills and constant laundry cycles, consider this option: For everyday spills and wash cycles, add a protective layer that’s easy to clean.
Mini checklist: What to do in the moment (printable mindset)
- Jammed? Clean and back out gently.
- Splitting? Re-feed, then lightly tighten the slider.
- Slider off? Align tapes, feed evenly, pull slowly.
- Stop missing? Stitch a stopper so it cannot slide off.
- Teeth/tape damaged? Replace or protect.
Up next, we will make sure today’s sofa cover repair does not turn into next week’s problem with a few simple habits that prevent repeat tears, jams, and wash damage.

Make the Fix Last: 5 Easy Habits That Prevent Repeat Damage
You just handled a quick sofa cover repair or a zipper repair for couch cover. Now let’s keep you from having to do it again next week. These five habits are simple enough for busy households, but they also respect the needs of premium or vintage pieces where you want repairs to stay neat, subtle, and stress free.
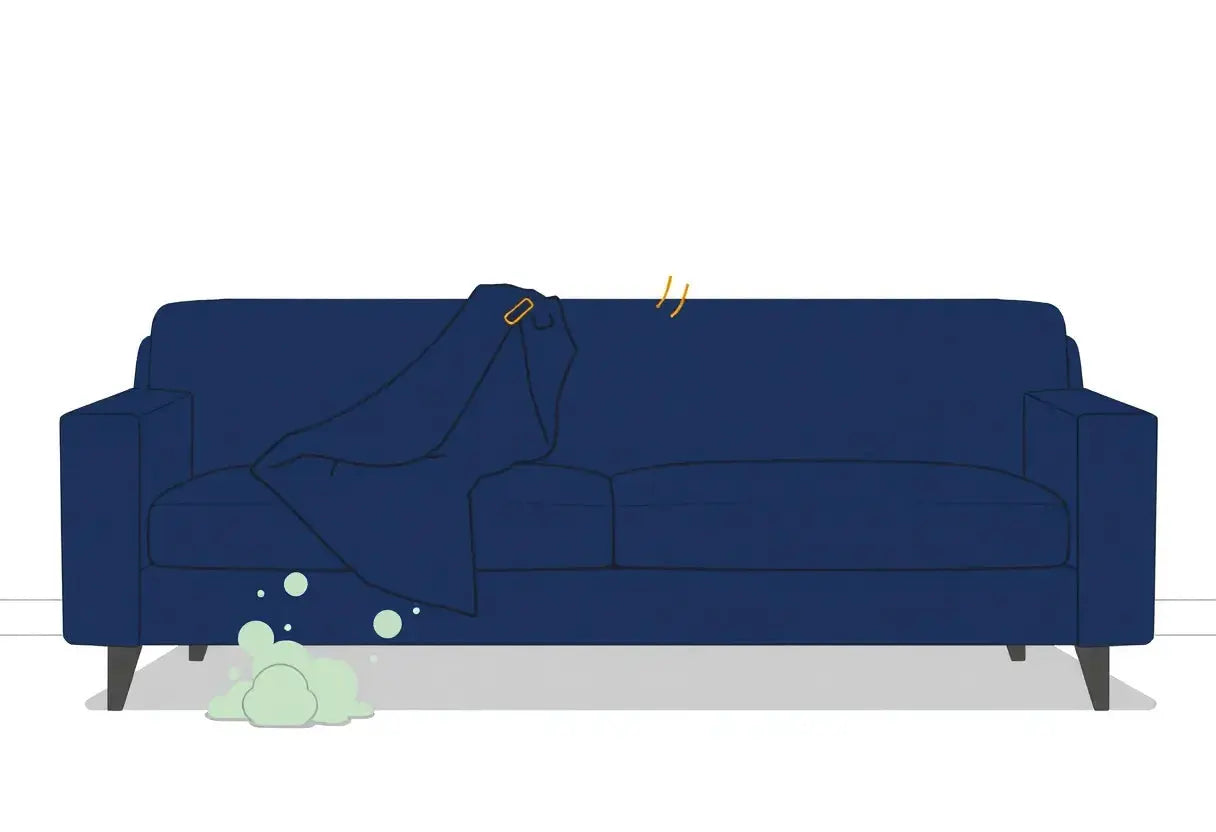
1) Wash smarter (so seams and zippers stop taking the hit)
Most repeat tears and zipper issues start in the laundry, not on the sofa.
Do this every wash:
- Close all zippers before washing. An open zipper flaps, snags fabric, and stresses the ends where splits start.
- Use a laundry bag when possible. Especially helpful for slipcovers with hardware, piping, or textured weaves.
- Cold water + gentle cycle. Less agitation means less pulling on seams and less distortion around patched areas.
- Air-dry. Heat can warp zipper tape, weaken adhesives from a fabric patch kit for upholstery, and make thin fabrics feel even thinner.
Why it matters in real life: High-traffic homes (kids and pets), rentals, and coworking waiting areas tend to do better with frequent light cleaning (spot clean, gentle wash) rather than occasional intense deep cleans that add strain over time.
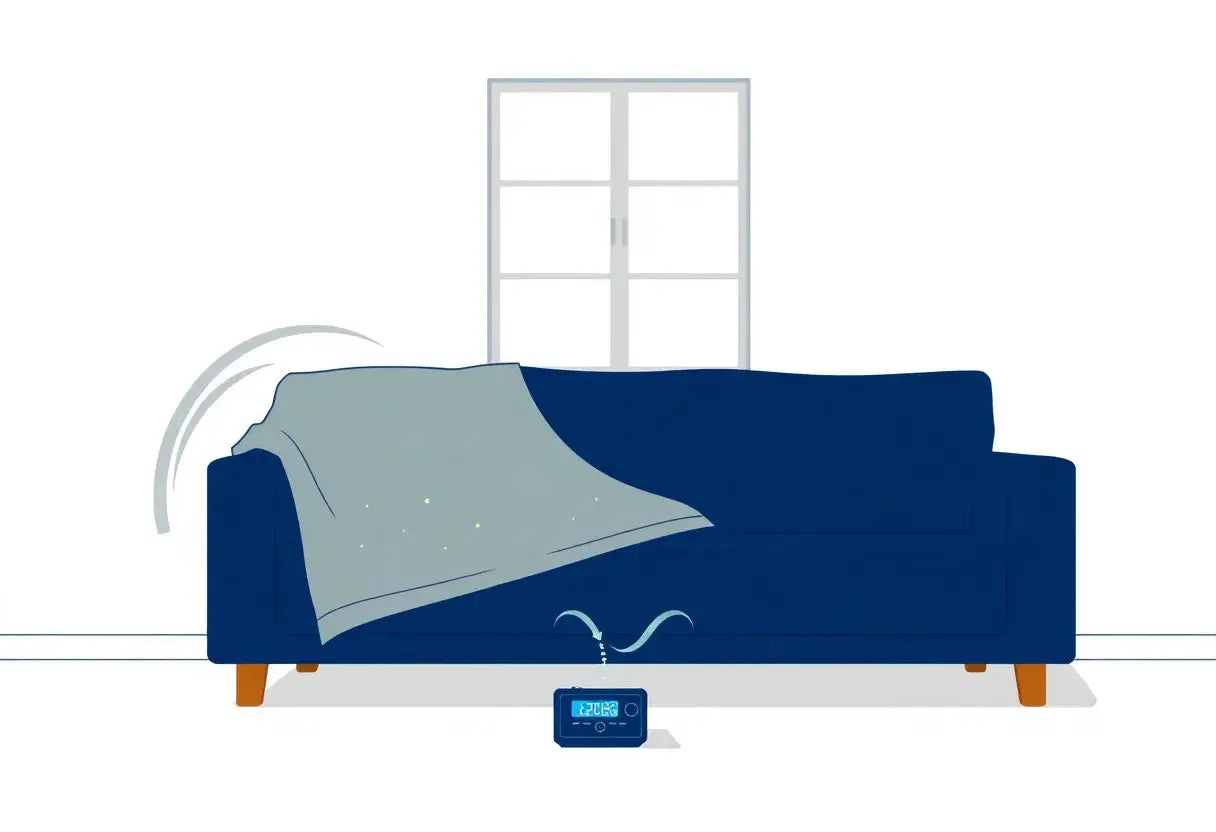
2) Control friction zones with washable add-ons
Look at where hands, paws, and snacks land most: armrests, front seat edge, and the cushion corners. Those spots get constant rubbing, which can lift patch edges or reopen a tiny snag you just used to fix torn couch cover damage.
Quick prevention that still looks polished:
- Add washable armrest and cushion protectors to take the daily abuse.
- If you have a visible patch, place protection symmetrically (both arms, both seat edges) so it looks intentional, not like a “cover-up.”
This is especially helpful right after a repair, while adhesive patches fully settle and the fabric relaxes back into shape.
3) Pet-proof the basics (and prevent zipper jams)
Pet hair is a common reason a zipper starts sticking, then someone forces it, then you are back to zipper repair for couch cover.
A small routine that helps a lot:
- Trim nails regularly to reduce claw snags and thread pulls.
- Put a throw in their favorite spot (the same spot every time is usually the one that fails first).
- Keep a lint tool nearby and do a quick pass along zipper tracks and seams. Removing hair buildup lowers the chance of jams and slider strain.
If your household includes both pets and kids, this one habit often prevents the “stuck zipper to broken zipper” chain reaction.
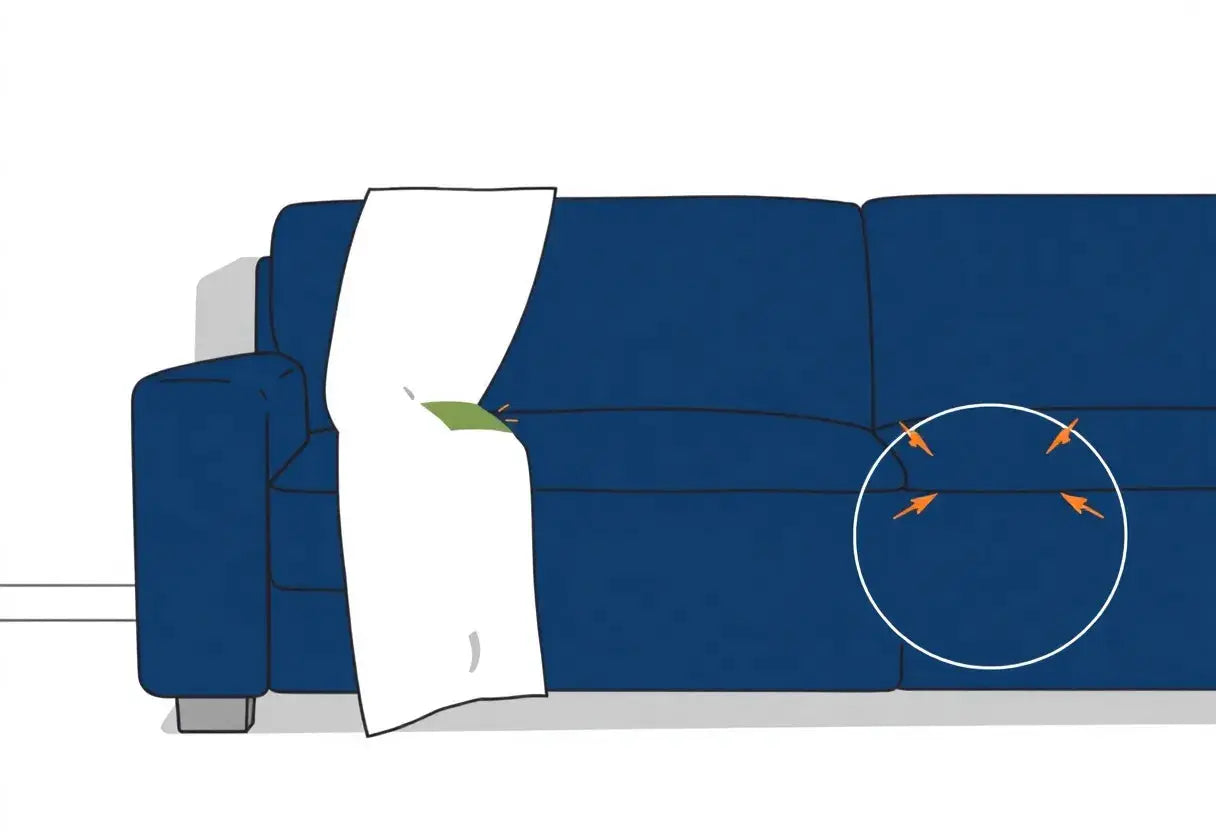
4) Rotate and re-seat the cover (reduce constant pull on one seam)
Covers shift over time. When they stay slightly crooked, one seam becomes the “load-bearing seam,” and that is when patches peel or stitching pops.
Once a week, 60 seconds:
- Tug the cover back into alignment at corners and along cushion lines.
- Re-seat any tucked fabric so it is not constantly pulling at the same point.
- Check that zippers are not under tension when fully closed (a tight zipper is more likely to separate later).
This is one of the best ways to extend the life of a recent sofa cover repair without changing how your living room looks.
5) Know when to upgrade (your fabric might be telling you the truth)
Sometimes the repair is fine, but the cover fabric is simply too thin for your household’s daily wear. If you notice:
- Patches repeatedly lifting even after proper prep
- New tears forming near old repairs
- Zipper issues returning after cleaning and re-tracking
…then the cover may have reached its practical limit.
For busy families, pet owners, rentals, and shared spaces, a full-coverage option can be the calmer long-term solution. If you are ready for something built for heavy daily use, you can Explore full-coverage options for heavy daily use.
Next, we will tackle the most common “what if” questions people have after a patch or zipper fix, including how to handle stretch fabrics and when repairs are no longer worth it.
So, there you have it. With a quick diagnosis and the right approach, you can handle most sofa cover repairs in about 10 minutes. Whether you’re using a fabric patch kit for upholstery to fix a torn couch cover or performing a simple zipper repair for couch cover, these fast fixes keep your living space looking tidy and functional without the stress or cost of a full replacement. Remember, the goal is a durable, discreet repair that fits seamlessly into your busy life.
Need a longer-lasting solution for kids, pets, or high-traffic homes? Upgrade your protection today—choose a durable, easy-wash cover that fits your sofa and keep your living room guest-ready this week.
Because a beautiful, welcoming home shouldn’t be held together by hope and a temporary fix.
FAQ: Quick Sofa Cover Repair Help (Patch Kits, Zippers, and When to Replace)
If your cover is torn, the zipper is acting up, or you are protecting a premium piece, these quick answers pull straight from our 10 minute patch kit and zipper steps. We focus on fast, family friendly fixes that save your living room and your budget, plus gentle options for vintage fabrics.
Q: Can I repair a stretch (spandex) sofa cover with a patch kit? A: Yes, but choose a flexible fabric patch kit for upholstery and test on a hidden spot first, since stretch covers need a patch that can move with the fabric. For a clean sofa cover repair, reinforce small tears early to prevent spreading; see our patch steps in Patch Kit Repair in 10 Minutes.
Q: How do I fix a zipper that keeps splitting open after I zip it? A: This is usually a worn slider, not the teeth, so start with our zipper repair for couch cover tip: gently tighten the slider with pliers and re-zip slowly. If it still separates, replace the slider for a longer lasting fix; follow Zipper Repair in 10 Minutes.
Q: Will an iron-on patch damage delicate or vintage fabrics? A: It can, which is why the article recommends using low heat, a pressing cloth, and testing first, or choosing an adhesive or sew-on patch instead. For premium or vintage pieces, a careful fix torn couch cover approach protects the original textile; review Delicate Fabric Tips.
Q: Is it better to patch from the inside or the outside of the cover? A: Inside is usually best for a discreet look, while outside can be stronger for high friction spots like seat edges, especially in homes with kids and pets. Our sofa cover repair guide suggests matching patch direction and smoothing edges to prevent peeling; see Where to Place the Patch.
Q: When should I stop repairing and replace the cover instead? A: Replace when tears keep reappearing, fabric is thinning in multiple areas, or the zipper tape is ripping, since repeated fixes will not hold up in busy family rooms or coworking spaces. The article frames repairs as a fast budget saver, but replacement is smarter once damage is widespread; check Repair vs Replace Checklist.